Table of Contents Show
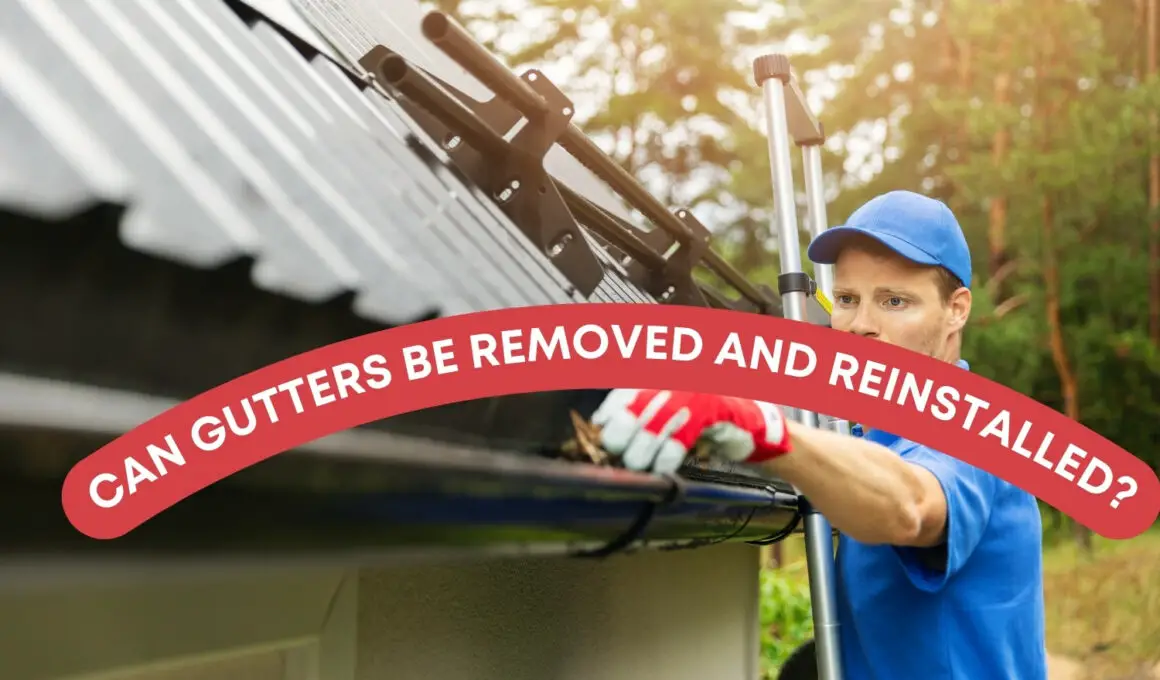
As a seasoned contractor with a wealth of experience in various house projects, I’ve come to appreciate the significance of every part of a home, especially gutters. In this article, we’re going to explore a question that might have crossed your mind: Can gutters be removed and reinstalled?
Gutters, those essential channels adorning the edges of your roof, play a crucial role in protecting your home from water damage. They direct rainwater away, safeguarding your foundation, walls, and landscape from the ravages of uncontrolled rain flow.
But what happens when they need a little TLC, or when home renovations demand their temporary removal?
In my journey of helping numerous clients with their home improvement projects, I’ve encountered various scenarios where removing and then reinstalling gutters was not just a possibility but a necessity.
Can Gutters Be Removed and Reinstalled?
Yes, gutters can be removed and reinstalled. This process is often necessary during home renovations, for repairing damage, or when upgrading to more efficient gutter systems. The key steps involve carefully detaching the gutters, assessing their condition, and then securely reinstalling them or replacing them with new ones if needed. It’s crucial to ensure that the reinstalled gutters are properly aligned and securely attached to effectively channel water away from the home, protecting the foundation and preventing water damage.
Reasons for Removing and Reinstalling Gutters
1. Home Renovations or Repairs
During home remodeling, especially if it involves the roof or exterior walls, gutters may need to be temporarily removed. This ensures they are not damaged during construction and allows for easier access to the areas being worked on.
2. Upgrading Gutter Systems
Homeowners often decide to upgrade their gutter systems for better efficiency, and aesthetics, or to utilize newer materials and technologies. Upgrading could involve switching to seamless gutters, installing gutter guards, or choosing materials that better complement the home’s exterior.
3. Damage or Wear and Tear
Over time, gutters can suffer from wear and tear due to weather conditions, debris accumulation, or animal activity. When they become damaged or significantly worn, it’s essential to remove and reinstall them to maintain their effectiveness in water management and protection against structural water damage.

Assessing the Condition of Existing Gutters
How to Inspect Gutters for Damage or Potential Issues
- Visual Inspection: Regularly examine your gutters for any visible signs of damage. Look for cracks, holes, rust, or sagging sections.
- Check for Blockages: Ensure that the gutters are free from leaves, twigs, and debris, which can cause clogs and water overflow.
- Examine the Seams and Joints: Pay close attention to the seams and joints of the gutters. Look for any separations or gaps where leaks could occur.
- Inspect Downspouts: Ensure that downspouts are intact, securely attached, and direct water away from the foundation.
- Look for Water Marks: Check the exterior walls and foundation for water stains or marks, which may indicate overflowing or leaking gutters.
Signs That Indicate the Need for Removal or Reinstallation
- Persistent Clogs: If gutters are frequently clogged despite regular cleaning, it might be time to consider reinstallation with better designs or gutter guards.
- Visible Damage: Cracks, holes, or extensive rust are clear signs that gutters need attention. Such damage can compromise their functionality.
- Sagging or Separated Gutters: Gutters that are sagging or pulling away from the roofline cannot effectively channel water and need to be reinstalled or replaced.
- Water Damage Signs: If there are water marks or damage on your home’s exterior walls or foundation, it’s a strong indication that your gutters are not functioning correctly.
- Age of Gutters: Older gutter systems may start to fail due to wear and tear over the years. If your gutters are particularly old, a full assessment and possible reinstallation might be necessary.
Step-by-Step Guide on How to Safely Remove Gutters
Step 1: Safety First
Ensure you have a stable ladder that reaches the height of your gutters. Always have someone to spot you while you work.
Step 2: Prepare the Area
Clear the area around the gutters to prevent any damage from falling debris or removed gutter sections.
Step 3: Remove Gutter Covers or Guards
If your gutters have covers or guards, carefully detach them first.
Step 4: Loosen the Fasteners
Using the appropriate tools, such as a screwdriver or a drill, gently loosen the fasteners (like screws or nails) that attach the gutter to the fascia board.
Step 5: Detach Downspouts
Carefully disconnect the downspouts. This may involve unscrewing joints or cutting them free, depending on their design.
Step 6: Remove Gutters Section by Section
Starting at one end, slowly and carefully remove each section of the gutter. It’s often easier to work in manageable lengths.
Step 7: Clean and Inspect the Fascia Board
Once the gutters are removed, inspect the fascia board for any signs of rot or damage. This is an ideal time to make repairs if necessary.
Remember, while gutter removal can be a DIY project, it involves working at heights and handling cumbersome materials. If in doubt, it’s wise to seek professional help to ensure the job is done safely and effectively.


