


Table of Contents Show
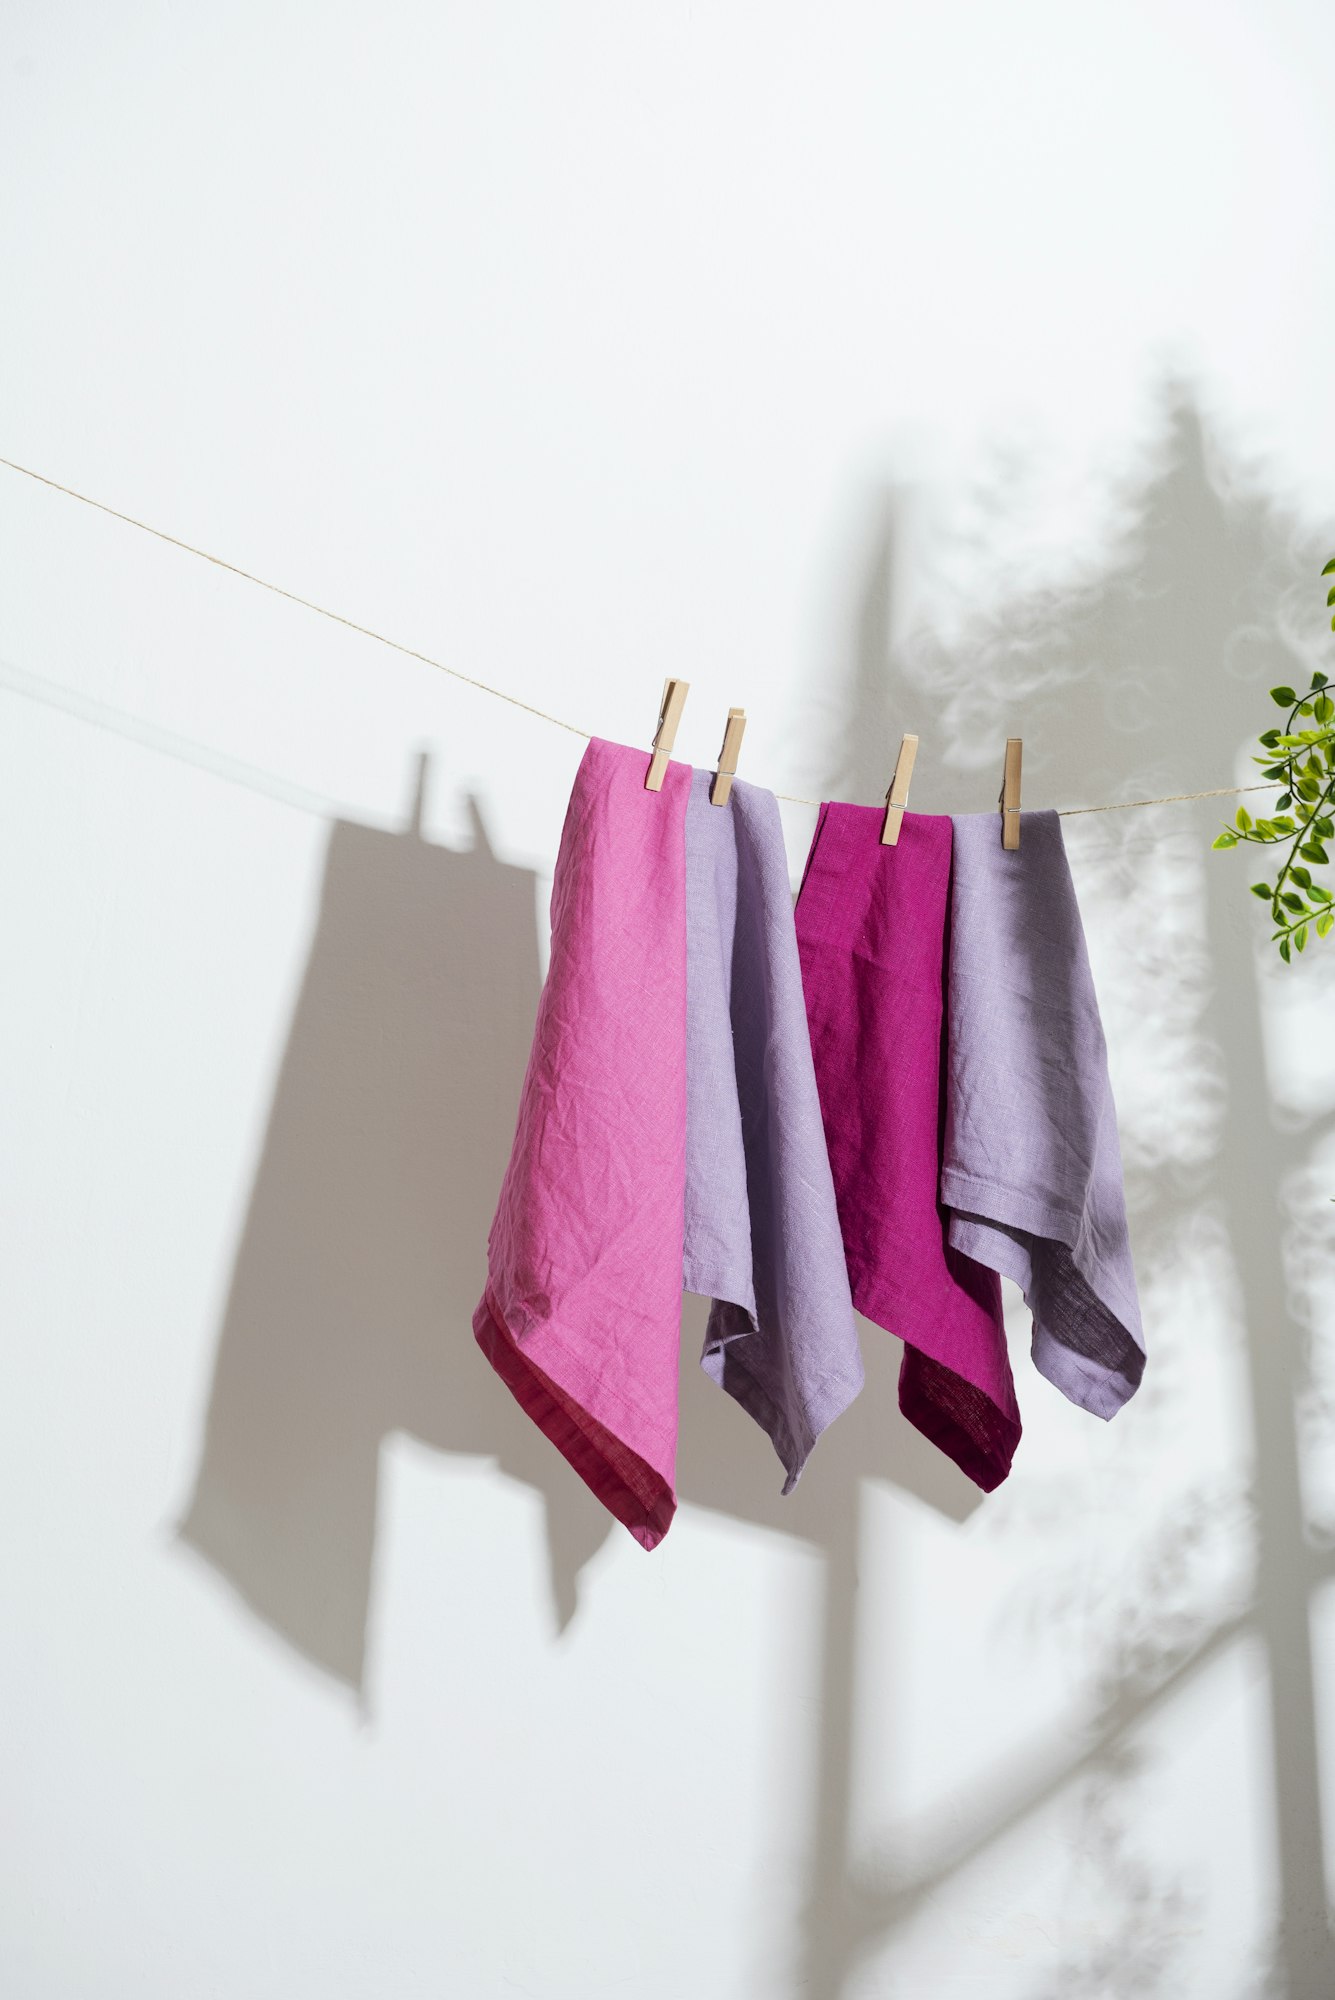
Whether it’s a spilled cup of coffee, a grease mark from cooking, or the aftermath of a craft session with the kids, stains can be a frustrating hurdle for any homeowner. However, with the right approach, you can tackle almost any type of stain quickly and effectively, preserving the beauty and longevity of your fabrics.
As an experienced contractor and homeowner who has managed numerous projects, I’ve learned that the key to maintaining pristine fabrics lies not just in the products you use, but also in understanding the nature of the stain and acting swiftly.
In this article, we’ll explore eight proven secrets that can help you remove stains from various fabrics—from everyday cotton and wool to delicate silks and synthetics. These tips are simple, professional, and backed by years of hands-on experience, ensuring you get the best advice possible.
Essential Techniques for Removing Stain From Fabrics
Let’s explore these essential techniques, leveraging common household products like vinegar, baking soda, and hydrogen peroxide, as well as trusted brands such as OxiClean and Tide. This guide is designed to equip you with all the necessary tools to handle stains effectively, keeping your textiles in top condition.
1. Identify the Stain Type

Before you can effectively tackle a stain on your fabric, it’s crucial to determine what type of stain you’re dealing with. Stains can be broadly categorized into several types, each requiring a specific approach for removal. Here are the common categories:
- Organic Stains: These are caused by natural substances like food, blood, grass, and mud. Organic stains are typically protein-based and respond well to cold water and enzymatic cleaners, which break down proteins.
- Oil-Based Stains: Items like butter, cooking oil, and makeup leave oil-based stains. These require solvents or degreases to dissolve the oil, making them easier to remove.
- Ink Stains: Inks can be tricky because their chemical composition varies. Water-based inks are generally easier to remove than oil-based or permanent inks, which might need alcohol-based solutions.
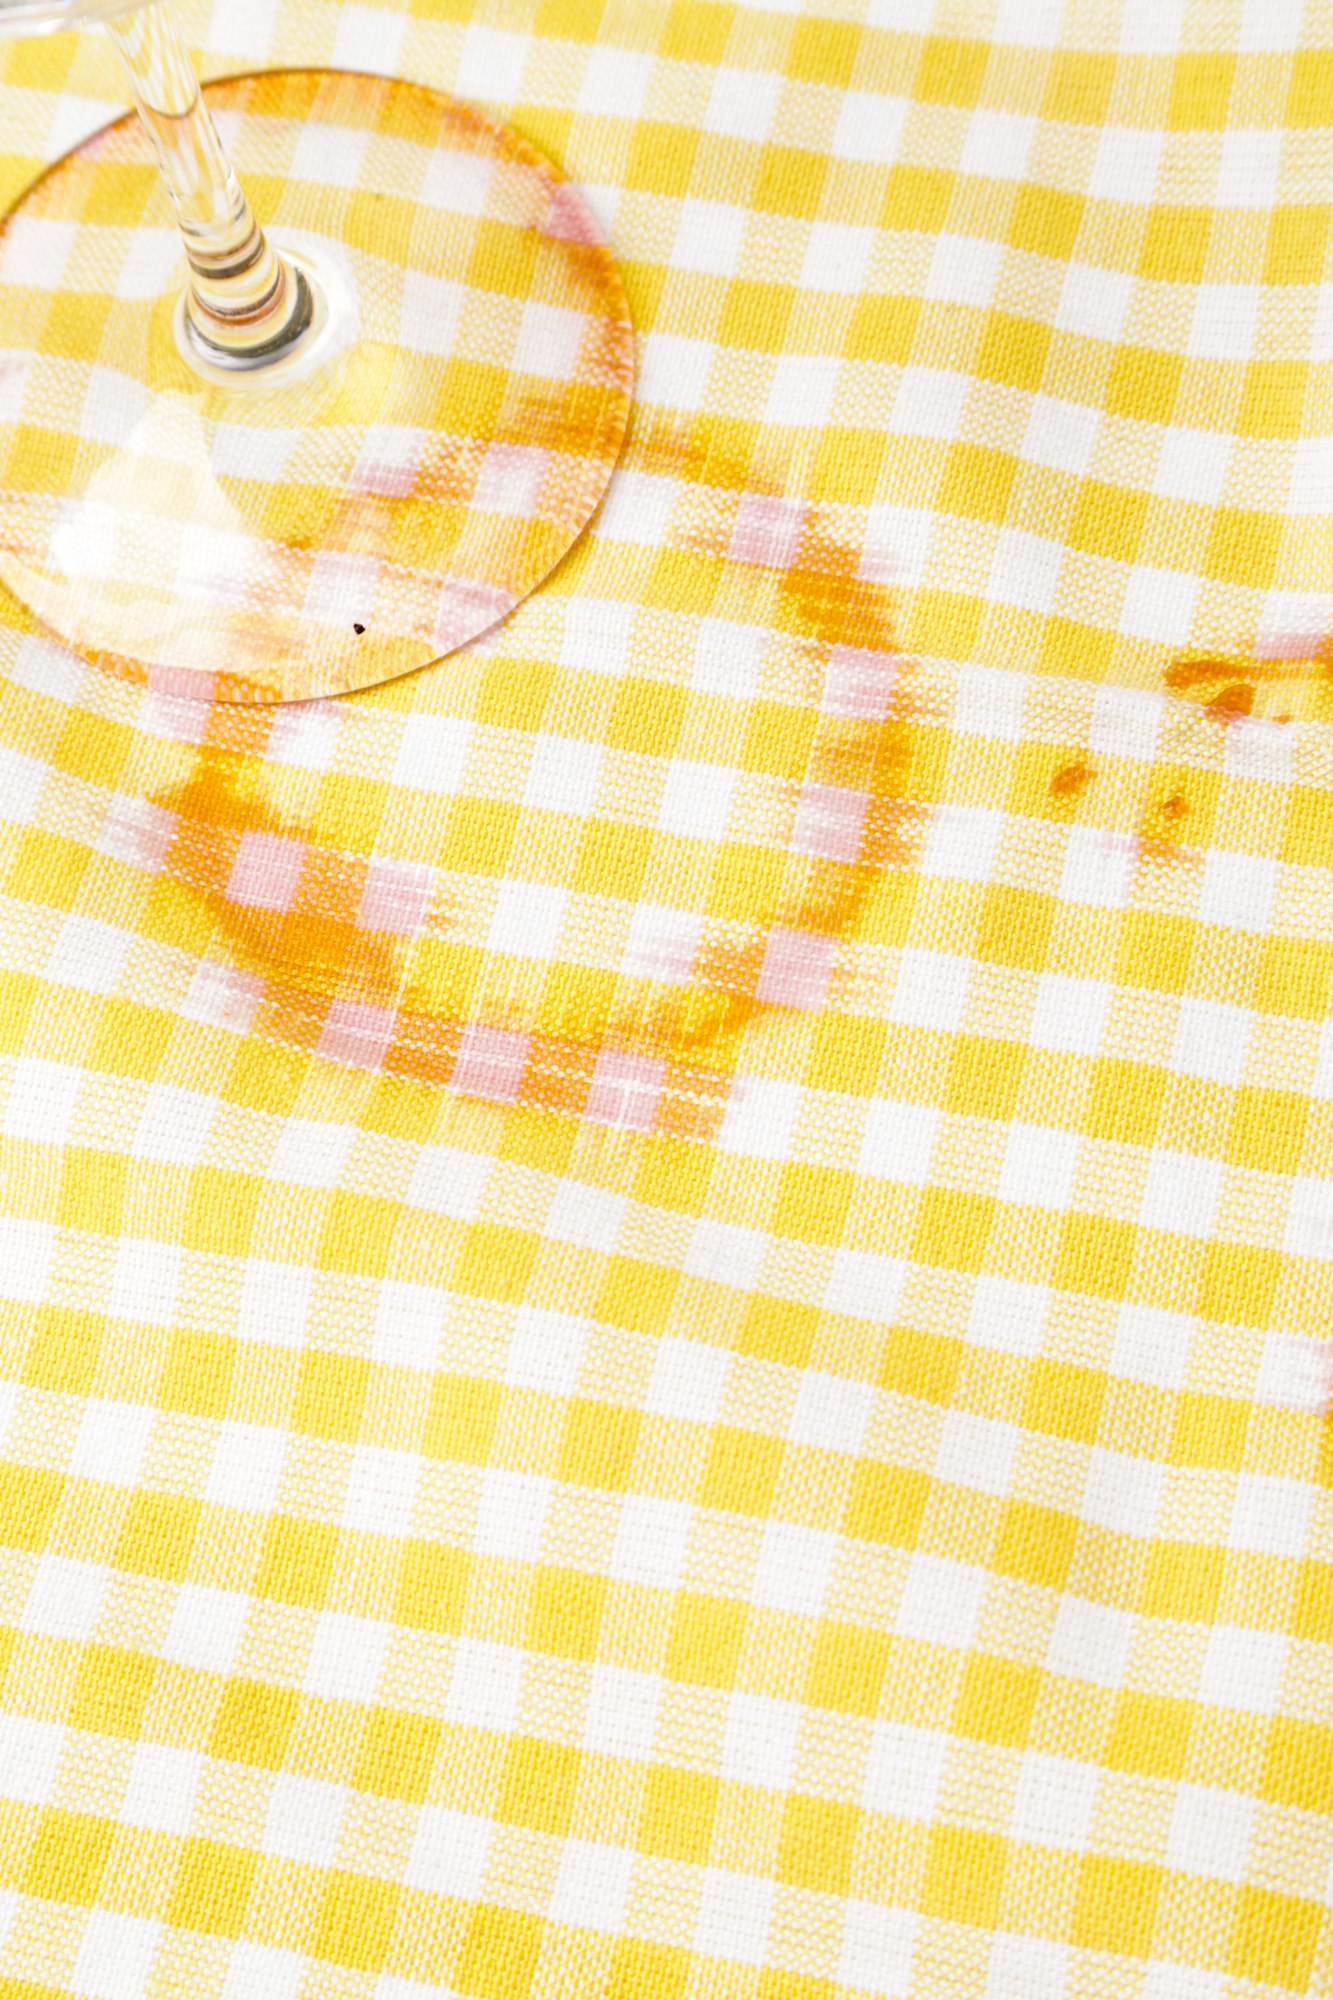
- Tannin Stains: Tea, coffee, and wine are examples of tannin stains. They are best treated without soap initially, as soap can set the stain deeper into the fabric.
Identifying the type of stain is pivotal because it guides you in choosing the most effective removal method. For instance, treating an ink stain with a technique suitable for an oil stain can set the stain permanently.
Always consider the fabric type and the stain’s origin before selecting your cleaning approach. This targeted strategy not only increases your chances of successfully removing the stain but also preserves the integrity of your fabric, ensuring that your textiles remain in pristine condition.
2. Act Quickly

One of the most crucial tips in stain removal is to act as swiftly as possible after a stain occurs. The longer a stain sits, the deeper it penetrates the fibers of the fabric, making it harder to remove and increasing the likelihood of a permanent mark.
Benefits of Treating Stains Immediately
- Prevents Setting: Quick action prevents the stain from setting into the fabric, which can happen especially under heat or with time.
- Easier Removal: Fresh stains are typically easier to remove than older ones, as they have not yet undergone chemical changes that can occur with exposure to air and light.
- Preserve Fabric Quality: Immediate treatment helps maintain the fabric’s original quality and appearance, avoiding the harsh treatments that set stains might require.
Initial Steps to Take When a Fabric Gets Stained
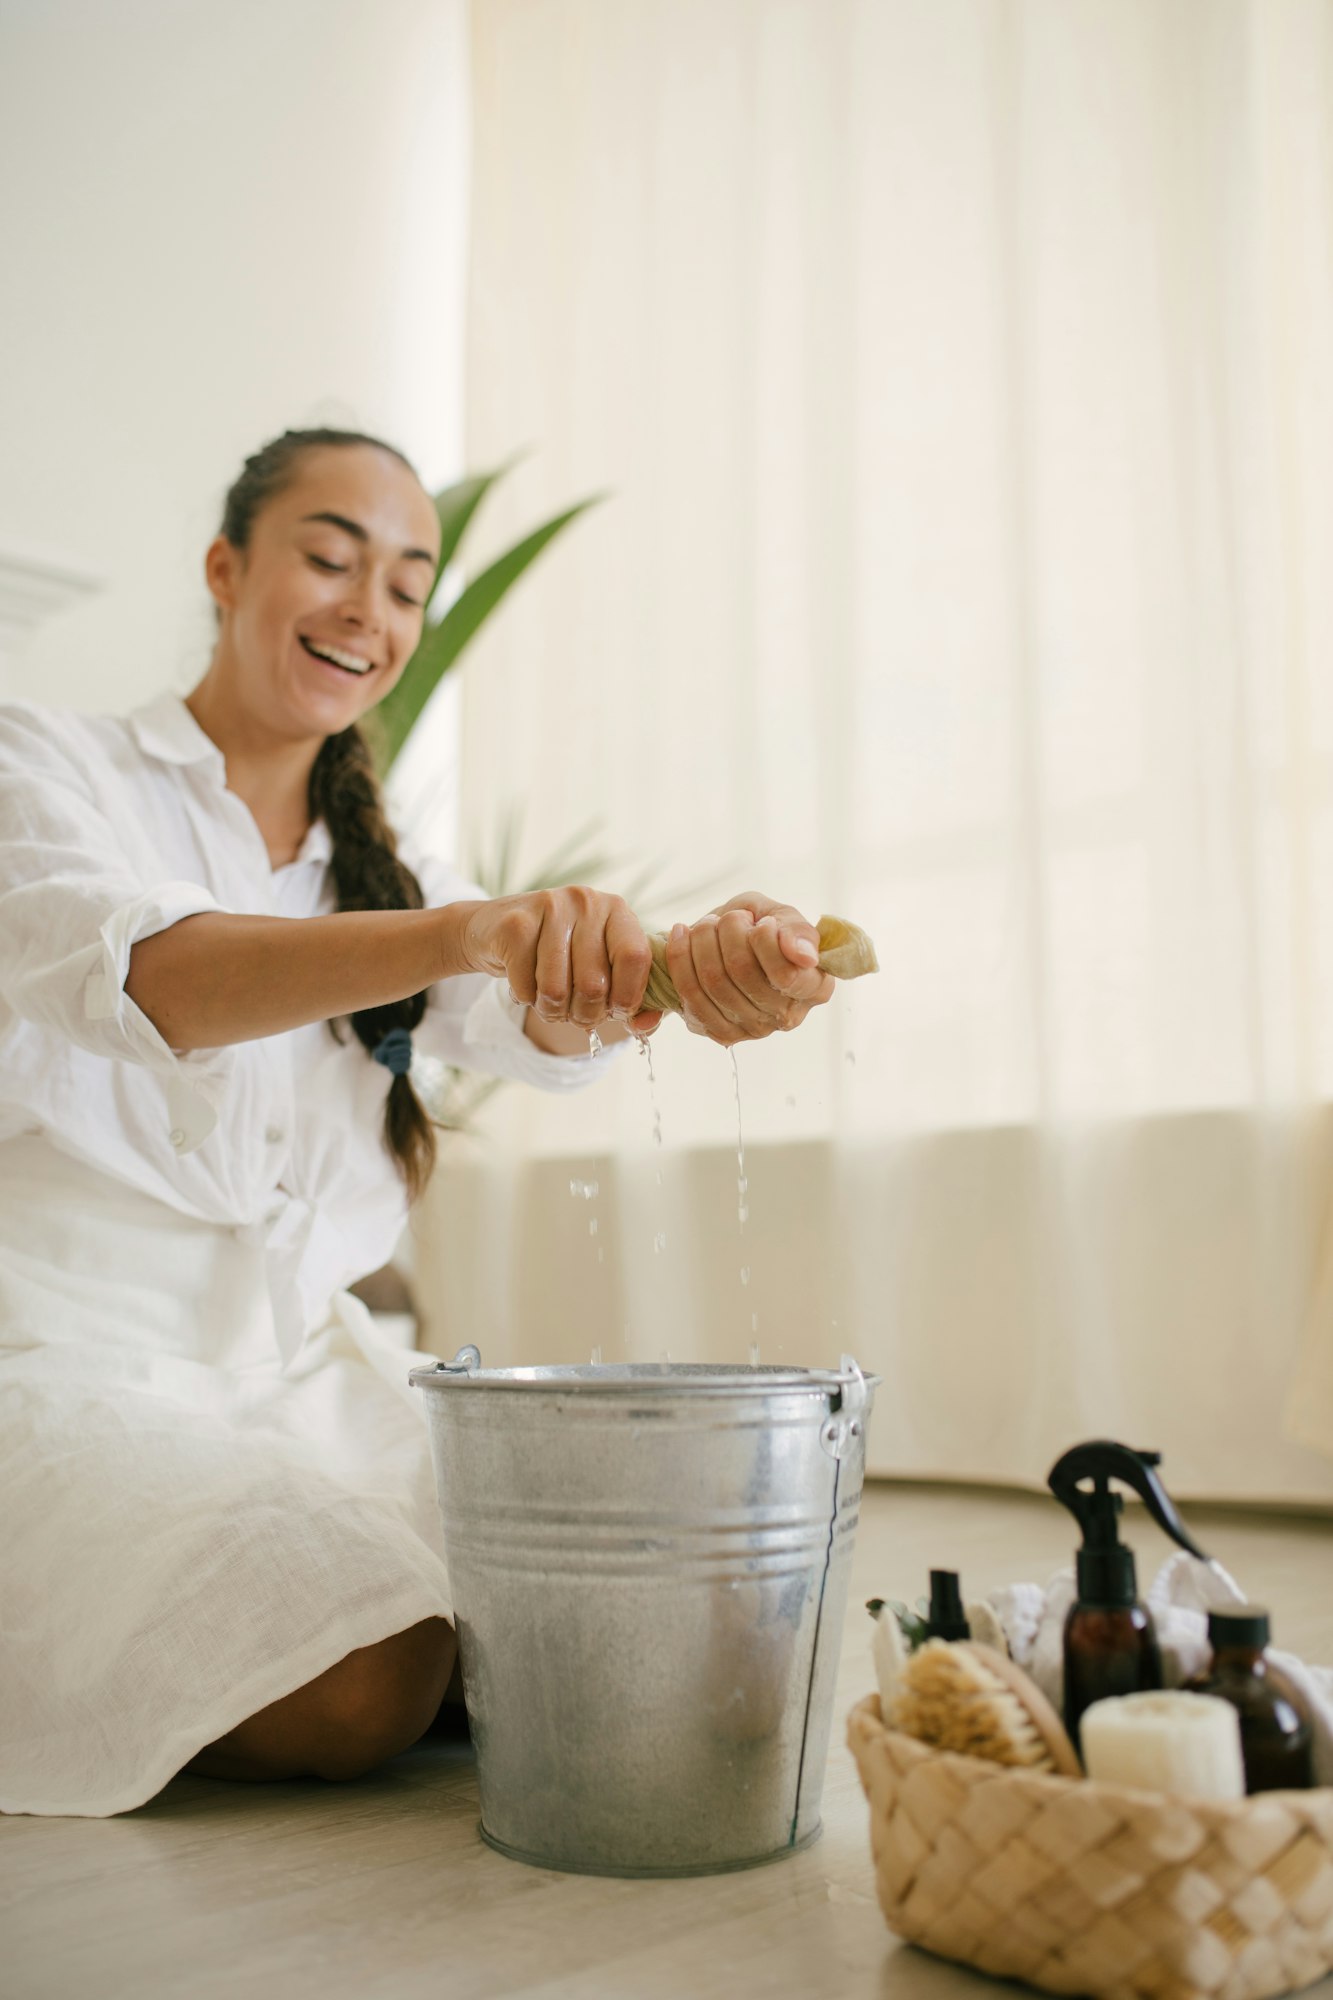
- Blot, Don’t Rub: Gently blot the stain with a clean, dry cloth or paper towel to absorb as much of the spill as possible. Rubbing can spread the stain and embed it deeper into the fabric.
- Use Cold Water: Rinse the stain under cold water to flush out as much of the staining substance as possible. Avoid hot water, which can set many types of stains, making them more difficult to remove.
- Apply a Mild Detergent: If water alone isn’t enough, apply a small amount of liquid detergent gently onto the stain. Let it sit for a few minutes to break down the stain.
- Test Stain Removers: Before applying any specialized stain remover, especially on delicate or colored fabrics, test it on a hidden area of the garment to ensure it doesn’t cause discoloration or damage.
3. Use Cold Water
Choosing the right water temperature is pivotal in the stain removal process. While hot water can be effective for certain stains and laundry types, cold water is often the safer and more effective choice for many common stains.
Why Use Cold Water
- Prevents Setting: Cold water helps prevent the setting of many types of stains, particularly those that are protein-based or have tannins. Hot water can cause these substances to coagulate or bind more firmly to the fabric, making the stain harder to remove.
- Reduces Shrinking and Fading: Cold water is gentler on fabrics, reducing the risk of shrinking, fading, or distorting garments, which is especially important for delicate fabrics and vibrant colors.
When to Use Cold Water
Cold water is particularly effective for the following types of stains:
- Protein-Based Stains: These include blood, sweat, and bodily fluids. Cold water helps to keep the protein from denaturing and bonding with the fabric, which can make the stain more stubborn.
- Tannin Stains: Common with wine, tea, and coffee. Unlike greasy stains, tannins can be set permanently if washed in hot water, especially when mixed with natural or synthetic detergents.
- Ink Stains: Cold water can help in flushing out fresh ink stains before applying alcohol-based solvents.
- Mud Stains: Rinsing mud-stained clothes in cold water helps to remove the soil without setting any organic matter.
Always begin by flushing the stain with cold water and then treat it with a stain remover or detergent if necessary. For mixed stains (those containing both oil and dyes, like makeup or some food stains), you may need to follow up with a warm wash after pretreating with cold water and suitable cleaning agents.
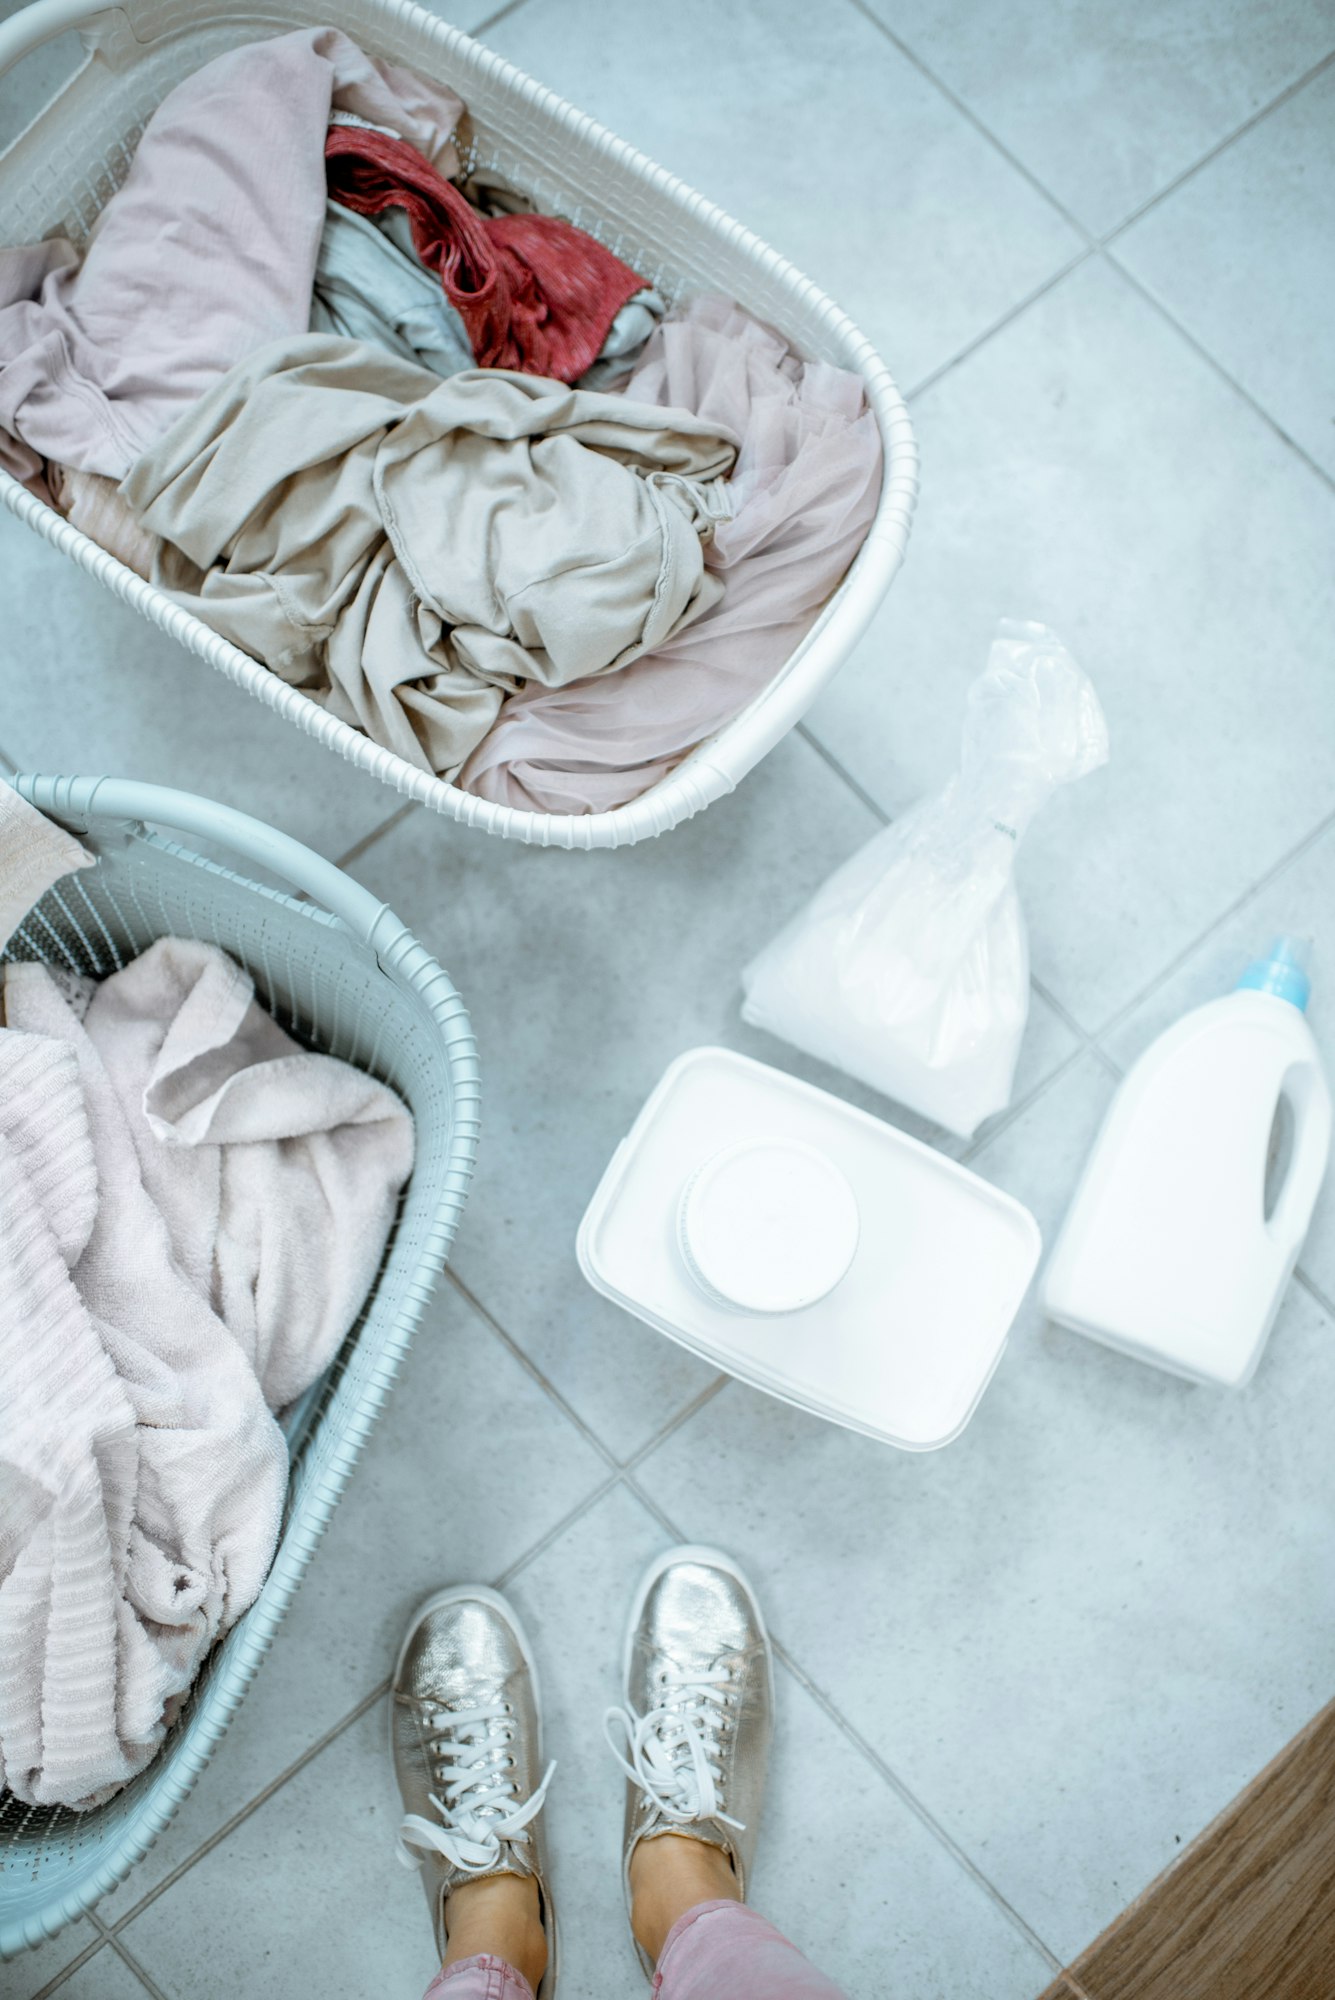
4. Homemade Solutions
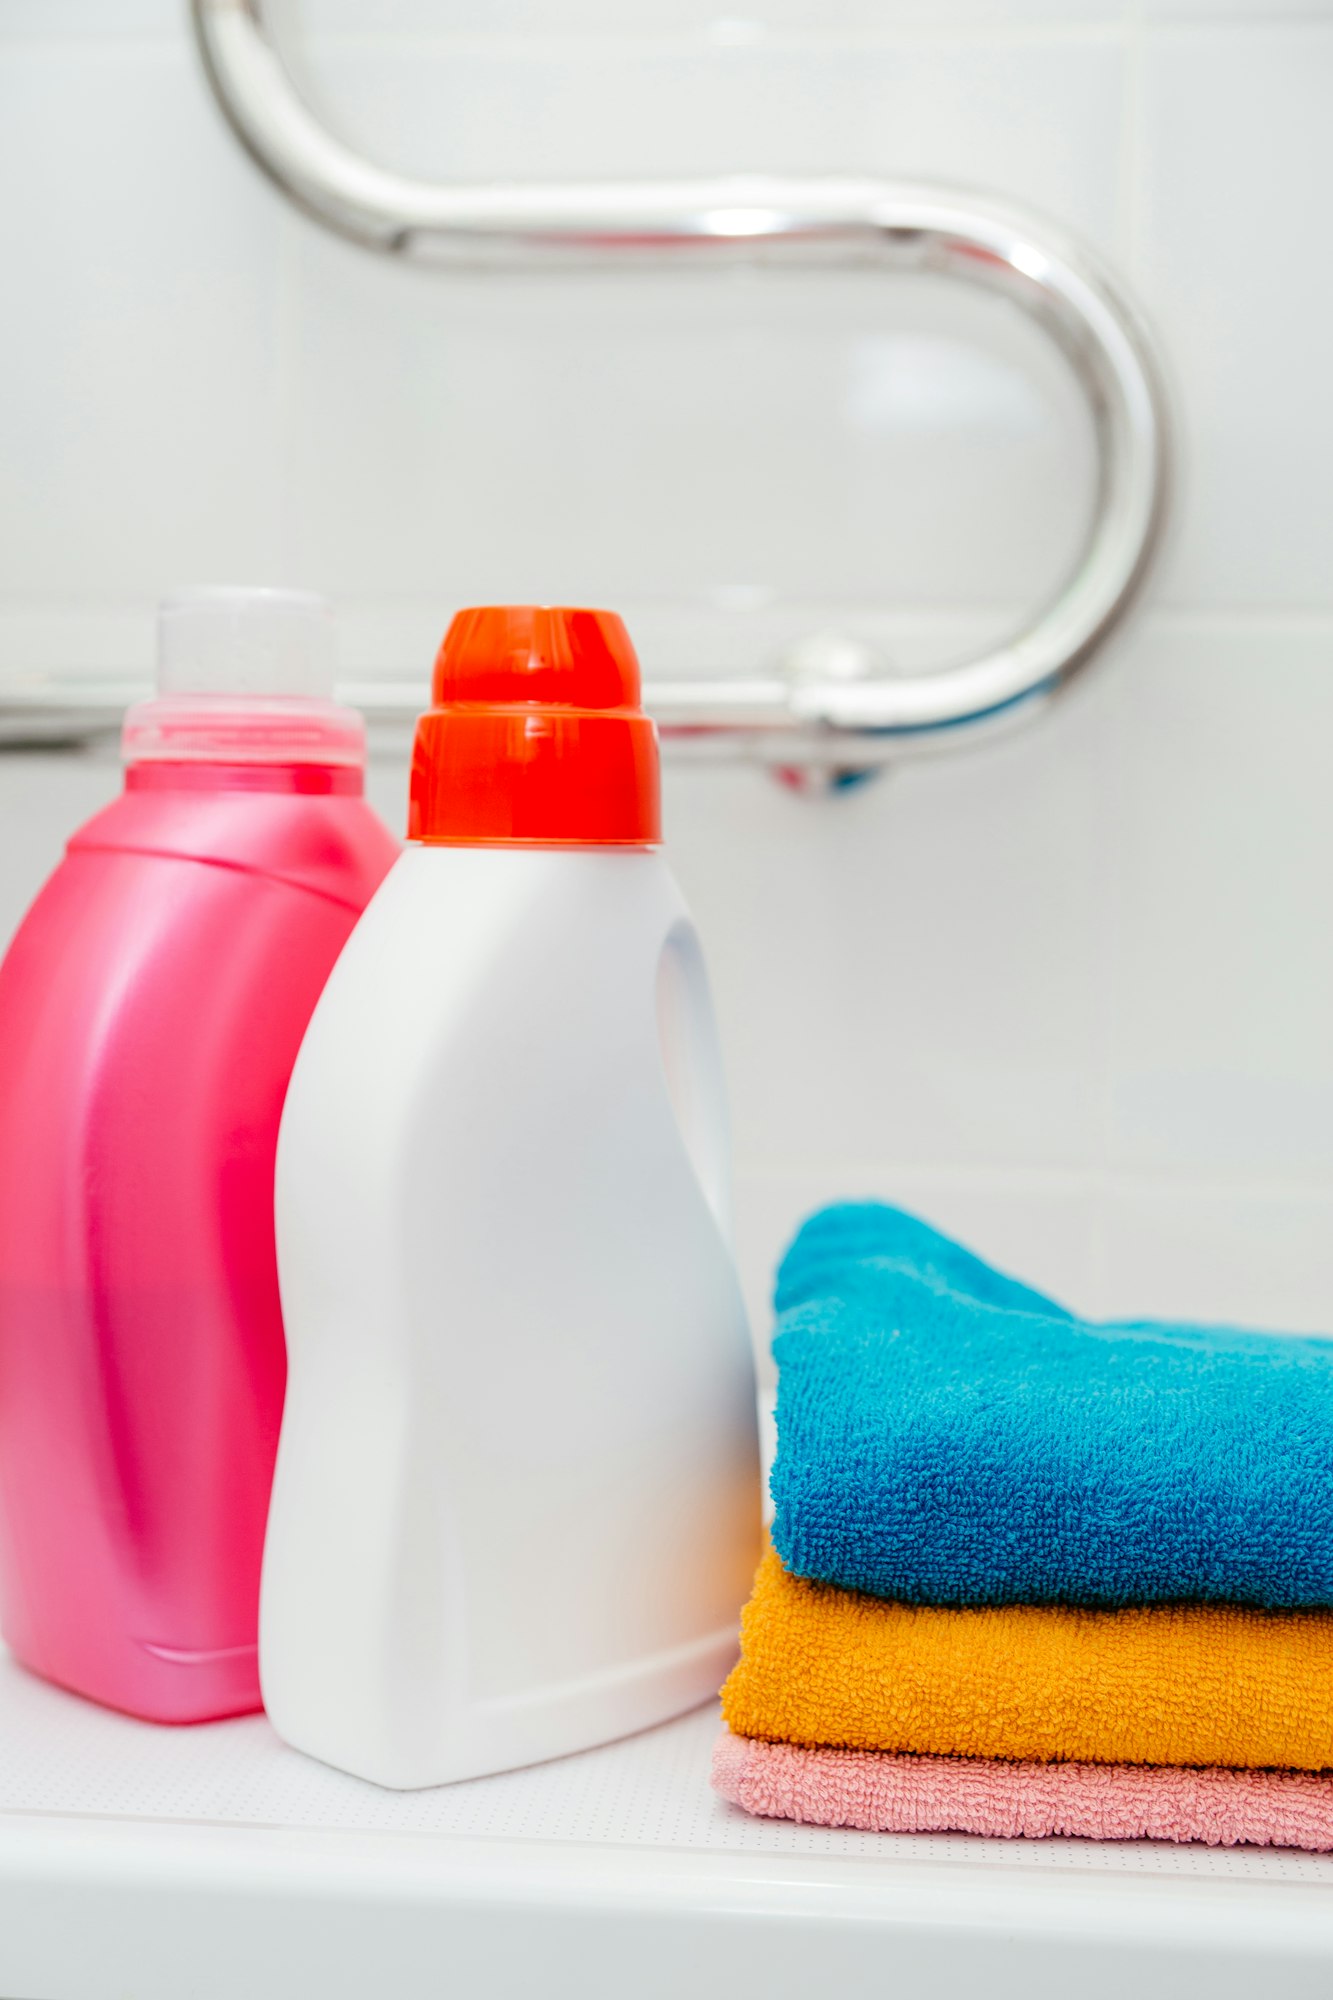
Sometimes, the best stain-removal tools are already in your pantry. Homemade solutions can be just as effective as, and often more economical than, commercial products. Here are a few recipes for DIY stain removers using common household items like vinegar and baking soda, along with an evaluation of how these solutions stack up against store-bought options.
DIY Stain Remover Recipes
- Vinegar and Dish Soap: Combine 1 part dish soap with 2 parts distilled white vinegar. This mixture works well on a variety of stains, from grass to coffee. Apply it to the stain, let it sit for 10 minutes, then wash as usual.
- Baking Soda Paste: Make a paste using 4 tablespoons of baking soda and a quarter cup of water. Apply this paste to the stain and allow it to dry; then brush off the residue and rinse. This is particularly effective for oil-based stains.
- Hydrogen Peroxide and Dish Soap: Mix one part dish soap with two parts hydrogen peroxide. This solution is excellent for organic stains like blood or wine. Test on an inconspicuous area first as hydrogen peroxide can bleach some fabrics.
- Lemon Juice and Salt: Sprinkle salt on the stain, then squeeze lemon juice over it. Let it sit in the sun for a few hours before rinsing. This is especially good for rust or mildew stains on white fabrics.
Comparison with Commercial Products
- Effectiveness: Many homemade solutions are surprisingly effective at dealing with common stains. They often work best on fresh stains and can be a first line of defense before using more potent commercial products.
- Cost: DIY stain removers are typically much cheaper than their commercial counterparts. Ingredients like baking soda, vinegar, and lemon juice are inexpensive and widely available.
- Safety and Environmental Impact: Homemade solutions are generally safer for the environment and less harsh on fabrics and skin. They contain fewer chemicals, making them a preferable option for households with pets, children, or members with sensitive skin.
- Convenience: While commercial products are ready to use, homemade remedies require a bit of preparation. However, this minor inconvenience is often offset by the benefits and cost savings.
5. The Blotting Technique
Blotting is a crucial step in stain removal, especially when dealing with liquid stains. It’s important to master this technique to avoid embedding the stain further into the fabric. Here’s how to blot stains properly, along with some common mistakes to avoid.
Step-by-Step Guide on How to Blot Stains Properly
- Act Quickly: As soon as the spill occurs, quickly but gently lay a clean, absorbent cloth or paper towel over the stain. The goal is to absorb as much of the spill as possible before it spreads.
- Press Down Firmly: Use your hands or a heavy object to press down firmly on the cloth or paper towel. This pressure helps transfer the stain from the fabric to the cloth. Avoid rubbing at all costs.
- Lift and Replace: Lift the cloth or paper towel to see how much of the stain has been absorbed. Fold to a clean section of the cloth or use a fresh towel as needed. Repeat this process until no more stain is transferred onto the cloth.
- Apply Stain Remover: Once blotting is done, if the stain is still visible, apply a stain remover. For water-based stains, you might continue to blot with a wet cloth; for oil-based stains, you may need a specific solvent.
- Final Blot and Rinse: After the stain remover has had time to work, blot again to remove any residue. Finally, rinse the area with cold water to flush out any lingering particles, and dab dry with a clean towel.
Common Mistakes to Avoid During Blotting
- Rubbing the Stain: This is the most common mistake. Rubbing can spread the stain and push it deeper into the fabric fibers, making it harder to remove.
- Using Colored or Printed Towels: Colored cloths or paper towels with prints can transfer dye to your fabric, complicating the stain removal process. Always use a clean, white towel or paper towel.
- Not Acting Quickly Enough: Delaying the blotting process can allow the stain to set, making it more challenging to clean effectively.
- Using Too Much Water or Cleaner Initially: Start with a small amount of cleaner or water. Adding too much can spread the stain further rather than helping to remove it.
6. Stain Removal Tools
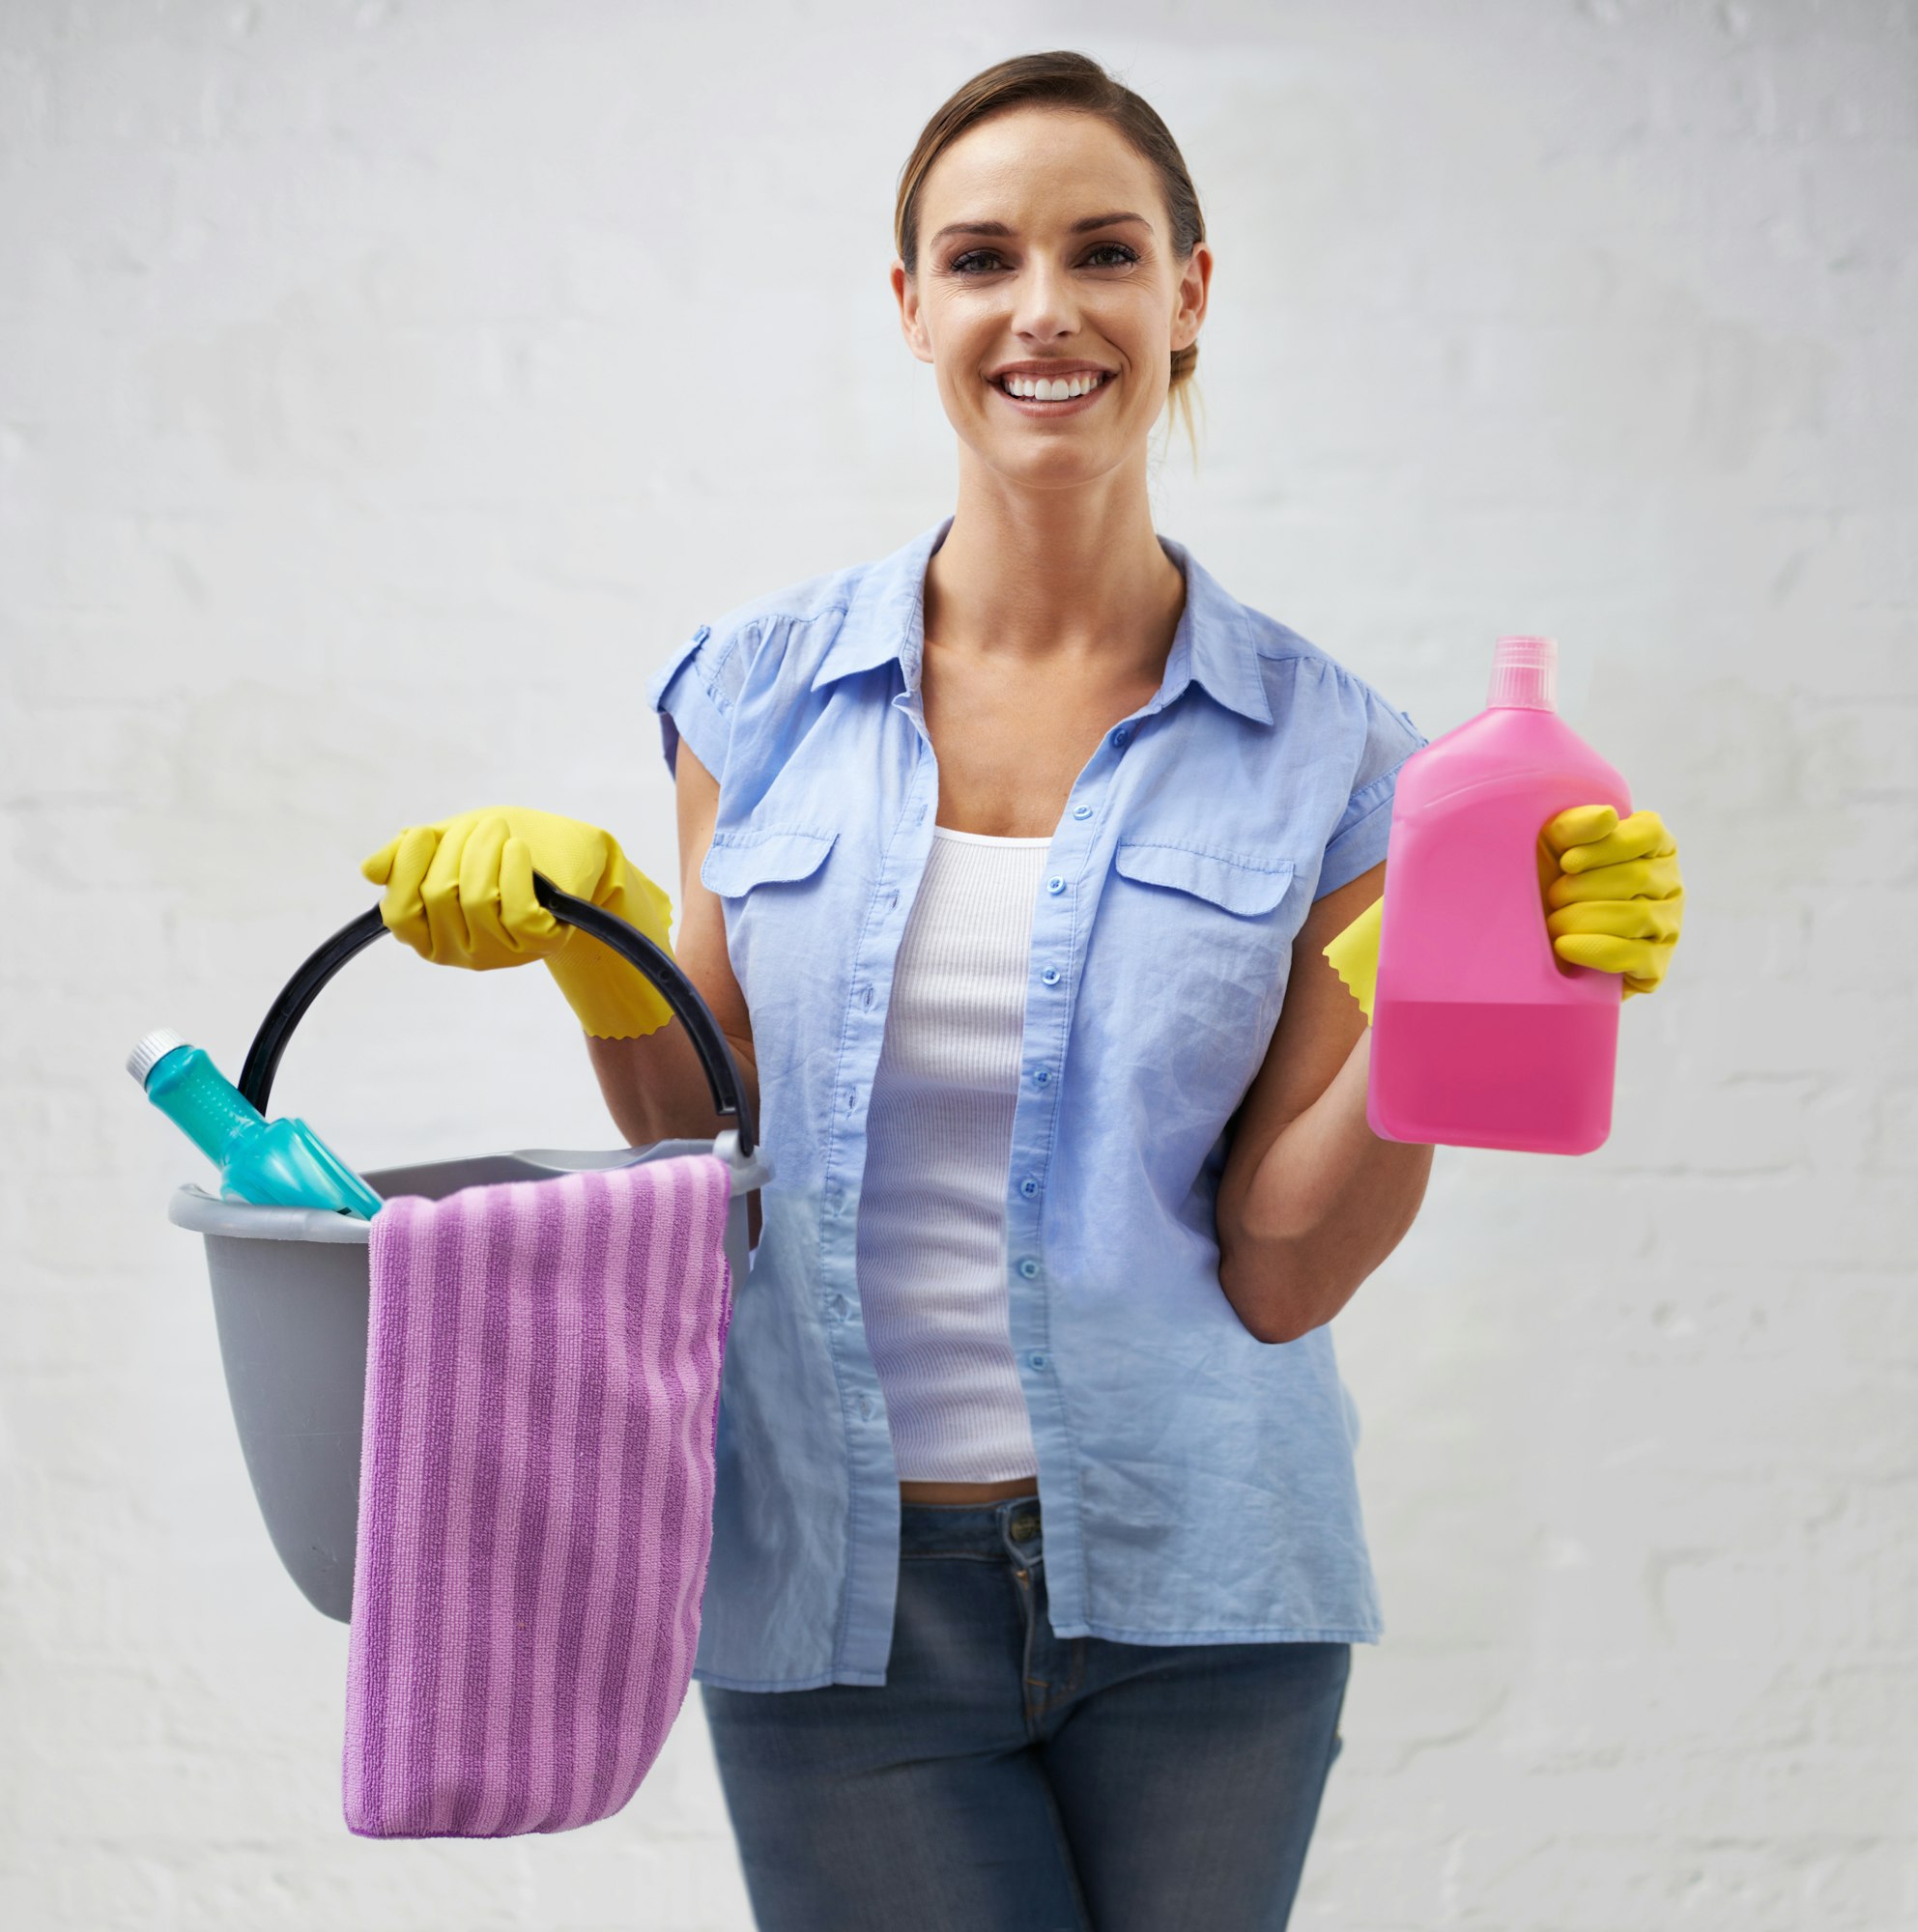
Effective stain removal often depends not only on the technique and solution used but also on the tools at your disposal. Different tools can be more appropriate for certain types of stains and fabrics, ensuring that you remove the stain effectively without damaging the material. Here’s a guide to the essential stain removal tools and how to use them properly for different types of fabrics.
Essential Tools for Effective Stain Removal
- Absorbent Cloths and Paper Towels: Ideal for blotting up spills before they set into fabrics. White is preferable to avoid dye transfer.
- Soft-Bristled Brushes: Useful for gently working stain removers into fabrics. A toothbrush can work well for small, delicate areas.
- Sponges: Good for dabbing and blotting cleaning solutions onto stains, especially on upholstery and delicate fabrics.
- Rubber Gloves: Protect your hands when using harsh chemicals and prevent the transfer of skin oils to the stain.
- Plastic Spatula or Knife: Useful for scraping off any excess substance from the fabric before treating the stain.
How to Use Each Tool for Different Types of Fabrics
- Natural Fibers (Cotton, Wool, Linen): Use soft-bristled brushes to gently work in stain removers without damaging the fibers. Absorbent cloths are key for blotting out stains.
- Delicate Fabrics (Silk, Satin): Sponges are ideal as they can apply solutions gently without stressing the fabric. Always test your method in an inconspicuous area first.
- Synthetic Fabrics (Polyester, Nylon): Use brushes and cloths as needed; these fabrics can usually handle a bit more agitation, but caution is still necessary to avoid fabric pilling.
- Upholstery and Carpets: A combination of brushes for deeper cleaning and sponges for surface work is effective. Spatulas or knives can help lift solid debris without further embedding it into the material.
Tips for Using Stain Removal Tools
- Gentle Motion: Always use a dabbing or blotting motion rather than scrubbing hard, which can damage the fabric’s surface.
- Clean Tools: Ensure that the tools themselves are clean before use to avoid introducing new stains or dirt.
- Right Tool for the Right Job: Match the hardness of the brush and the absorption capacity of the cloth or sponge to the type of fabric and stain for optimal results.
7. Test the Fabric
Before you commit to using any stain removal technique or product on a visible area of your fabric, it’s crucial to test it on a small, inconspicuous part first. This precautionary step ensures that the stain remover won’t damage the fabric or cause discoloration.
Importance of Testing Stain Removers
- Prevent Damage: Testing helps prevent potential damage to the fabric that could be caused by the stain remover, whether it’s fading, color bleeding, or weakening of the fibers.
- Assess Effectiveness: It allows you to see how effective the stain remover will be on the specific type of stain and fabric without risking further visible damage.
- Cost-Efficiency: By ensuring that a method works before applying it broadly, you avoid wasting time and resources on ineffective treatments.
How to Test Stain Removers on Fabric
- Choose a Hidden Spot: Find a small area that is not normally visible, such as the inside hem, a corner, or under a collar.
- Apply a Small Amount: Use a cotton swab or a small cloth to apply the stain remover to the hidden area.
- Wait and Observe: Allow the cleaner to sit for the recommended amount of time. Then, check for any adverse reactions such as color changes or texture alteration.
- Rinse Thoroughly: After observing, rinse the area with water to remove any residue of the stain remover.
What to Do if the Fabric Reacts Negatively
- Discontinue Use: If there is any negative reaction, such as color fading, bleeding, or fabric damage, do not use the stain remover on more visible areas.
- Rinse Immediately: If a negative reaction occurs, rinse the area with cold water immediately to try to mitigate the effect.
- Seek Alternatives: Look for alternative methods or products that might be gentler on the fabric. Consider consulting a professional for advice on particularly delicate or expensive items.
8. Know When to Seek Professional Help
While many stains can be treated at home with the right techniques and tools, some situations require the expertise of a professional cleaner. Understanding when to seek professional help can save you time, effort, and the potential heartache of permanently damaged fabrics. Here are some guidelines on when to bring in the experts, along with the types of stains and fabrics that often necessitate professional attention.
Guidelines on When to Seek Professional Cleaning
- Persistent Stains: If you’ve tried multiple methods and the stain remains, it might be time to call in a professional. Persistent stains, especially on delicate or expensive fabrics, require expert techniques.
- Delicate Fabrics: Fabrics such as silk, velvet, and fine wool can be easily damaged by home remedies. Professional cleaners have the right tools and solvents to treat stains without risking damage.
- Large or Difficult Stains: Large stains or those that are spread over a significant area of the fabric (like upholstery or large area rugs) often require professional equipment for effective removal.
- Special Care Labels: If the garment has a ‘dry clean only’ label, it’s best to adhere to that advice. Professional dry cleaners know how to handle these items properly.
Types of Stains and Fabrics That May Require Professional Attention
- Oil-Based Paints and Inks: These can be particularly challenging to remove and often require specific solvents that professionals possess.
- Blood and Wine on Delicate Fabrics: Stains like blood and wine can set quickly and are particularly noticeable. Professionals can remove these stains more effectively, especially from delicate fabrics.
- Antique or Heirloom Fabrics: Older fabrics or those with sentimental value should be handled by professionals to preserve their integrity and appearance.
- Stains Involving Chemicals: Stains from substances like nail polish, bleach, or battery acid are not only difficult to remove but can also be hazardous. Professional cleaners can safely treat these.
Knowing when to seek professional help not only ensures that your fabrics are treated with the best care but also prevents the kind of damage that can occur from well-intentioned but inappropriate home treatments. Trusting a professional with challenging stains on valuable or delicate items is often a wise investment, safeguarding your valuable textiles against potential ruin.