


Table of Contents Show
As an experienced homeowner and contractor, I’ve tackled numerous projects, from routine maintenance to extensive renovations, and I understand the value of clear, clean windows. Not only do they enhance the curb appeal of your home, but they also allow more natural light to brighten your interior spaces.
Cleaning windows might seem straightforward, but doing it correctly can extend the life of your windows, improve your home’s energy efficiency, and provide unobstructed views of your surroundings.
In this step-by-step guide, I will walk you through the essential tools, effective techniques, and pro tips to achieve streak-free windows. Whether you’re preparing for spring cleaning or maintaining your windows’ sparkle all year round, this guide is designed to help homeowners like you achieve professional-quality results with ease.
What You Will Need
To ensure a thorough cleaning of your windows and achieve that crystal-clear finish, having the right tools and materials is essential. Here’s what you’ll need:
- Squeegee: Essential for a streak-free finish, a good quality squeegee can make a significant difference.
- Microfiber Cloths: Ideal for cleaning and drying without leaving lint or streaks.
- Bucket: Needed to mix your cleaning solution and carry it easily from window to window.
- Window Cleaner: You can choose between commercial cleaners or make your own.
- Rubber Gloves: To protect your hands from cleaners and keep them dry.
- Scrubber or Sponge: Useful for loosening dirt and grime on the window surface.
- Ladder or Step Stool (if needed): For reaching high windows safely.
How to Clean Windows
Let’s go through the necessary steps to keep your windows clean and clear, enhancing your home’s overall appearance and value.
1. Preparing Your Windows

Proper preparation of your windows is crucial before you start the actual cleaning process. Removing dust, dirt, and debris from the window frames and sills not only ensures a cleaner result but also prevents scratches on the glass caused by abrasive particles during wet cleaning. Here’s how to prepare your windows effectively:
Importance of Removing Dust and Debris
- Prevents Damage: Dry particles can scratch the glass when wiped with a wet cloth.
- Enhances Clarity: Clean frames and sills won’t transfer dirt back onto the glass, ensuring a clearer view.
- Efficiency: A clean surface allows the cleaning solution to work directly on the glass without interference from excess dirt.
Step-by-Step Guide to Brushing or Vacuuming Window Frames and Sills
1. Gather Your Tools
Use a soft brush or a vacuum with a brush attachment to gently remove dirt. Ensure the brush is clean and soft to avoid any damage.
2. Dry Brushing
- Start by brushing the outer frame and sills gently to remove loose dirt and debris.
- Pay special attention to corners and crevices where dust tends to accumulate.
3. Vacuuming
- For a deeper clean, especially if the windows have not been cleaned for a while, use a vacuum.
- Adjust the vacuum to a lower suction setting if possible to avoid pulling in any loose parts or damaging the frame.
- Attach the soft brush to the vacuum hose and carefully vacuum the frames, sills, and tracks. This is particularly effective for removing spider webs, dust, and small debris.
4. Wiping Down
- After brushing or vacuuming, use a slightly damp microfiber cloth to wipe down the frames and sills. This removes any remaining dust and prepares the surface for wet cleaning.
- Ensure that the cloth is only mildly damp to prevent any water damage to the frame, especially if it’s made of wood or a similar sensitive material.
5. Inspect for Repairs
This is also a good time to inspect the integrity of the window frame and sill. Look for any cracks, peeling paint, or damage that might need addressing.
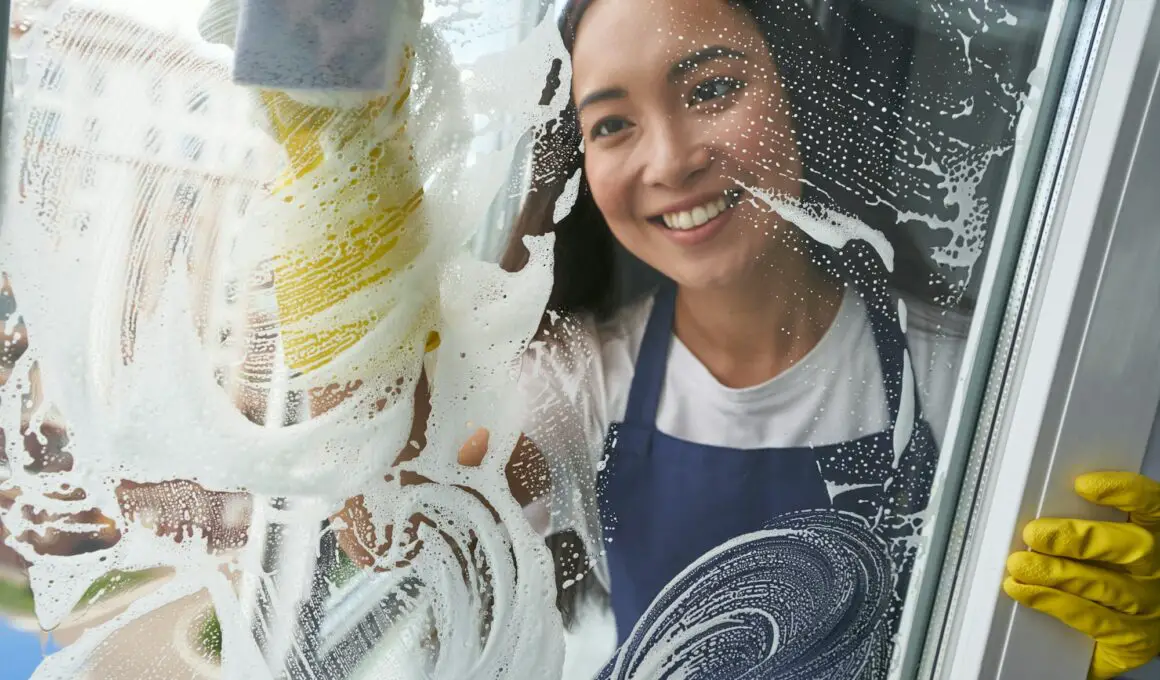
2. Washing the Windows
Once your windows are prepped and dust-free, it’s time to move on to the main event: washing the windows. This step is crucial for achieving that crystal-clear, streak-free shine. Here’s how to do it effectively.
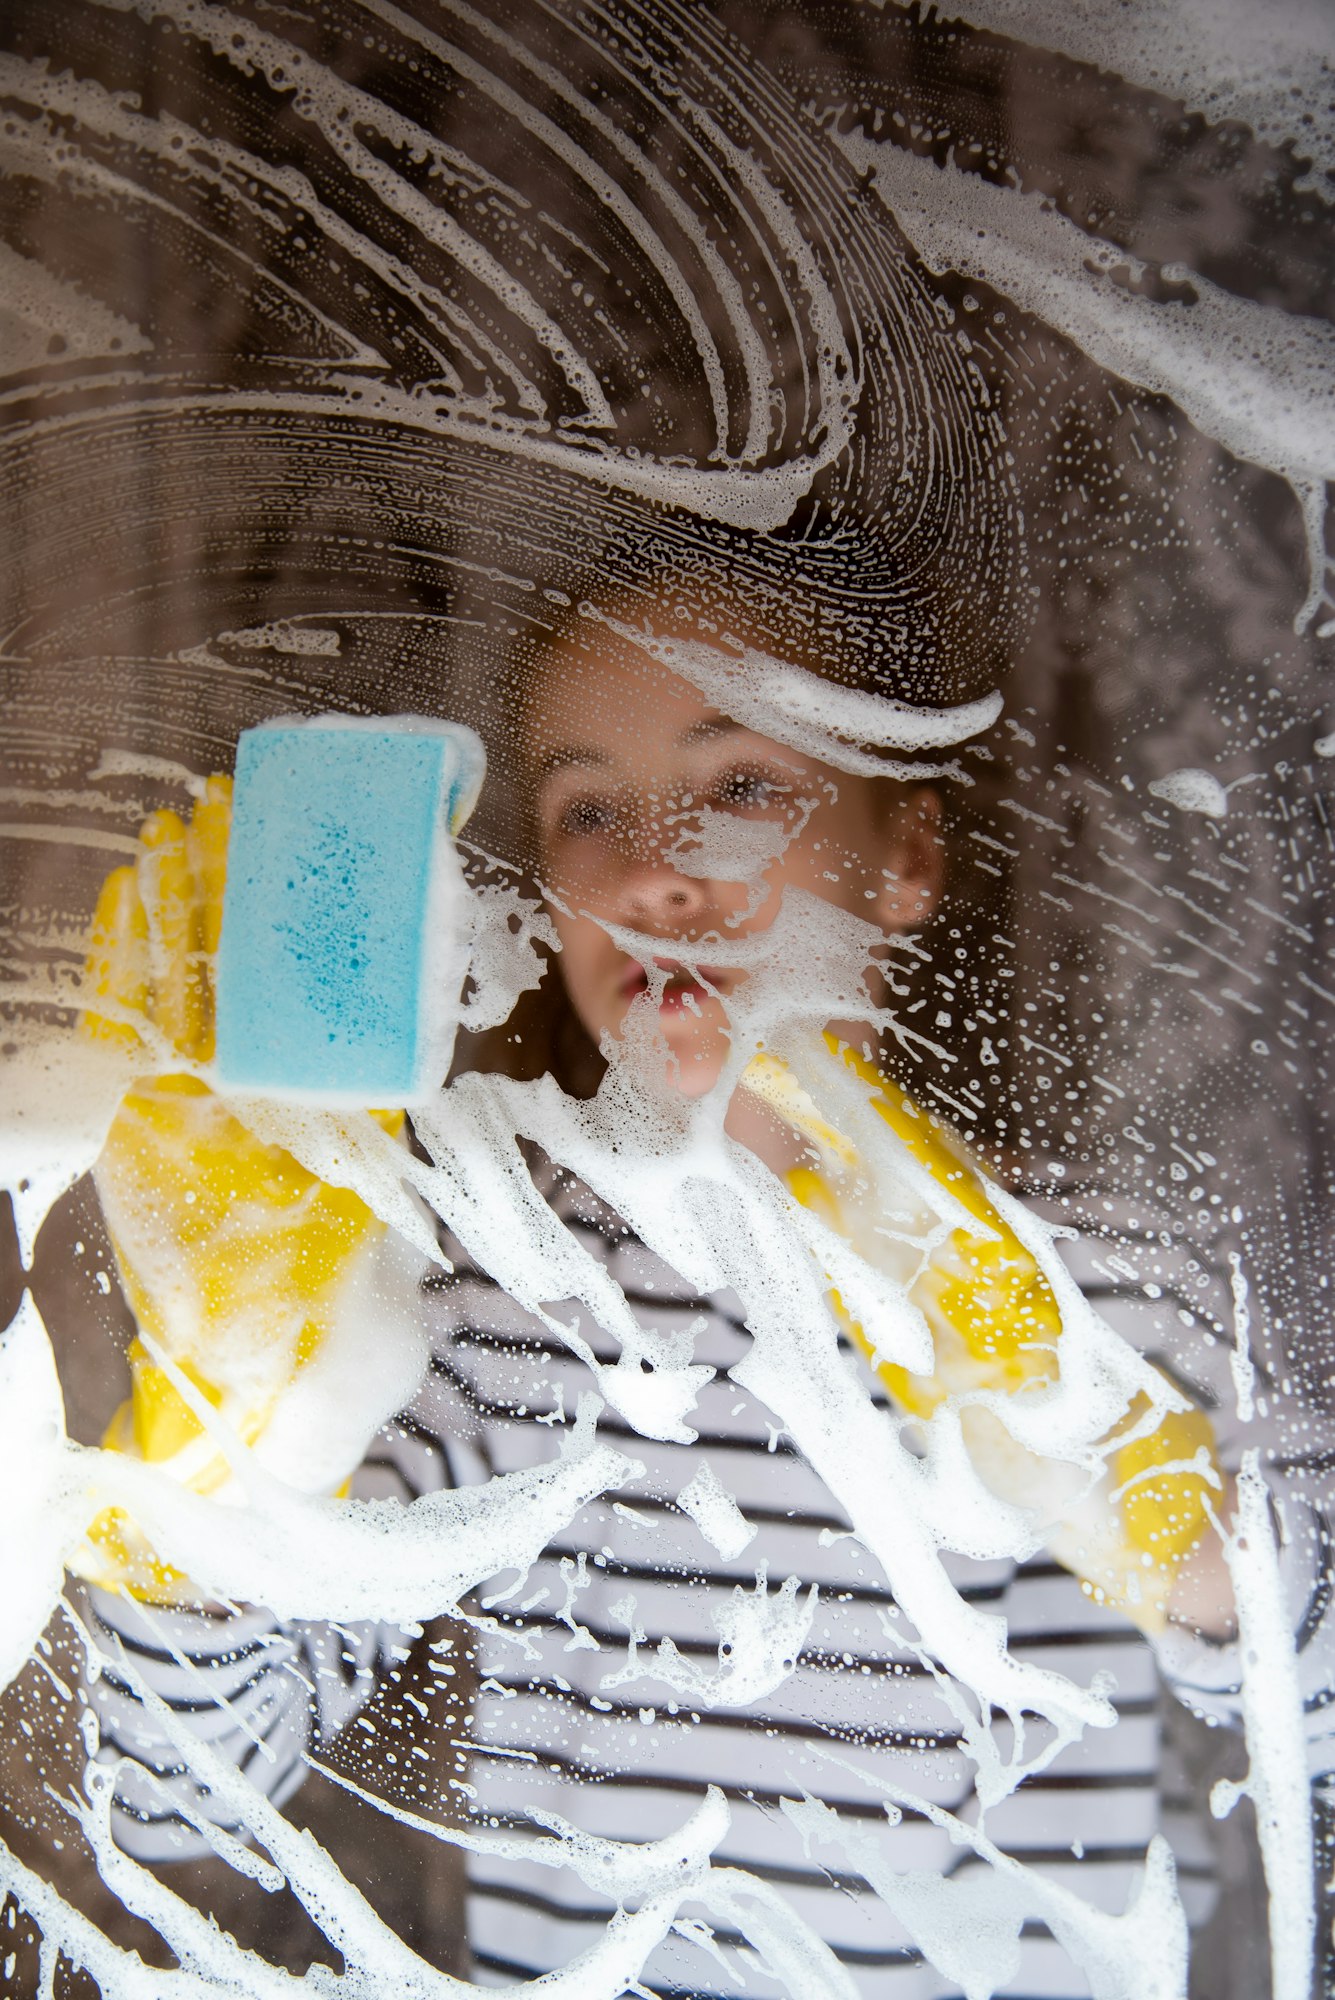
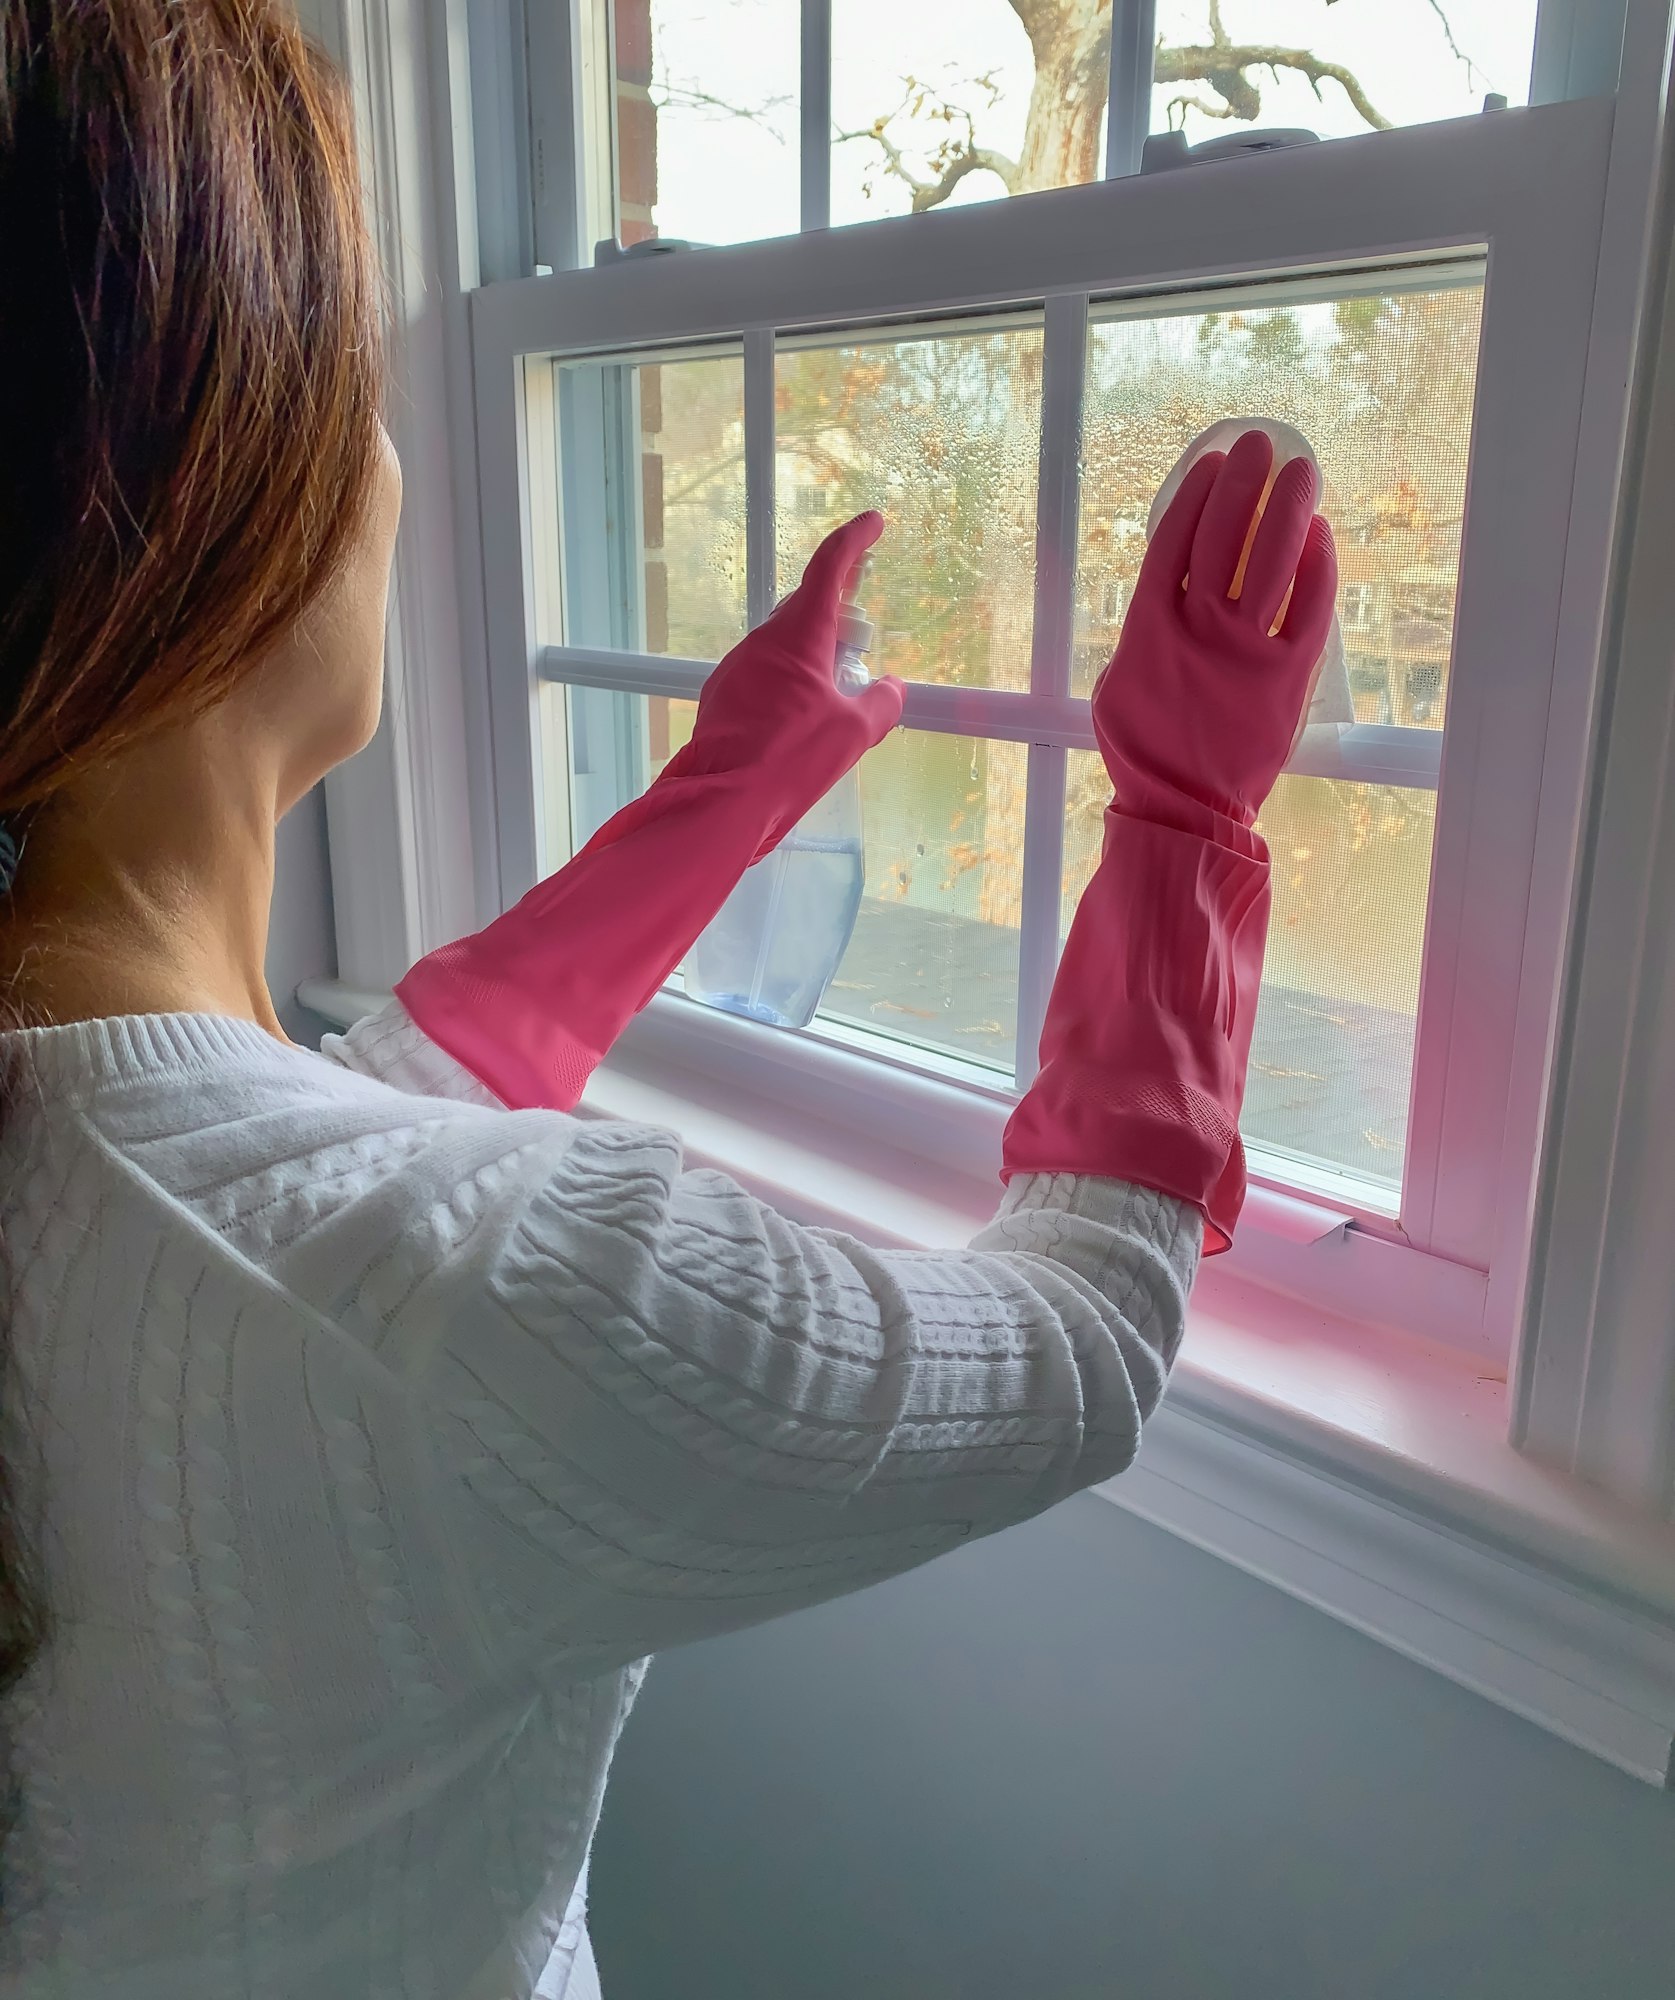
Applying the Cleaning Solution
- Prepare Your Solution: If you haven’t already, prepare your cleaning solution. For homemade solutions, mix one part of distilled vinegar with ten parts of warm water in your bucket. If using a commercial cleaner, follow the manufacturer’s instructions.
- Dampen Your Scrubber or Sponge: Dip your scrubber or sponge into the cleaning solution. Wring it out slightly so it’s wet but not dripping excessively. This prevents excessive water from running down and potentially damaging the sill or floor.
- Apply to the Glass: Start at the top corner of the window and work your way down. Use gentle, horizontal strokes to spread the solution evenly across the window. For larger windows, work in sections to prevent the solution from drying before you can squeeze it off.
- Reapply as Needed: Dip the scrubber back into the solution periodically to keep it moist. This ensures that you have enough cleaning solution on the window to loosen all the dirt.
Techniques for Scrubbing Without Scratching the Glass
- Use the Right Tools: Always use a soft sponge or a professional window scrubber designed for glass. Avoid using abrasive tools like steel wool or rough scrubbing pads, as they can leave scratches.
- Gentle Pressure: Apply light to moderate pressure while scrubbing. The aim is to loosen dirt, not to scrape it off forcefully.
- Even Strokes: Use smooth, even strokes to cover the entire surface of the glass. This not only prevents scratches but also ensures that every part of the window is equally cleaned.
- Check Your Tool: Periodically check your scrubber or sponge for trapped particles like small stones or hard debris that could scratch the glass. Rinse it out thoroughly if you find any.
- Edge Cleaning: Be careful around the edges and corners of the glass, where scratches are more prone. These areas may require a gentler touch and smaller, more precise movements.
3. Drying and Polishing the Windows

Once your windows are washed, the next steps involve drying and polishing them to achieve that streak-free shine. Here’s how to do it right:
Best Practices for Using a Squeegee
- Choose the Right Squeegee: Ensure the squeegee has a sharp, new rubber blade. A dull or nicked blade can leave streaks.
- Wipe the Blade: After each pass, wipe the squeegee blade with a clean, dry microfiber cloth to remove any excess water and dirt. This helps prevent streaks.
- Angled Approach: Hold the squeegee at an angle to the glass, which helps guide the water down the window.
- Top to Bottom: Start at the top of the window and move the squeegee from one side to the other, slightly overlapping each stroke. Pull the squeegee across the window in a smooth, continuous motion.
- Final Strokes: After removing most of the water with the squeegee, any remaining moisture at the edges of the window can be wiped off with a dry microfiber cloth.
Tips for Drying Corners and Edges
- Detail Work: Use a clean, dry microfiber cloth to carefully wipe and dry the corners and edges of the window, where water tends to gather and streaks are most likely to occur.
- Precision Drying: Fold your cloth to a clean section for each window to ensure you’re not transferring dirt or moisture back onto the glass.
- Regular Cloth Rotation: Have several clothes on hand to switch out once one becomes too damp.
4. Maintaining Clean Windows
Regular maintenance not only enhances the appearance of your windows but also extends their life and performance. Here’s how to keep your windows clean over time:
Regular Maintenance Tips
- Routine Wiping: Dust and clean window sills and frames regularly to prevent build-up that can be harder to remove later.
- Spot Cleaning: Quickly handle smudges and fingerprints as they occur, using a small squeegee or microfiber cloth with your cleaning solution.
Frequency of Cleaning
- General Recommendations: Clean your windows thoroughly at least twice a year—once in the spring and once in the fall.
- Environmental Considerations: If you live in an area with high pollution, near the ocean, or in a region with a lot of rain or snow, you may need to clean your windows more frequently to prevent damage from salt, mineral deposits, or other contaminants.
5. Troubleshooting Common Issues

Sometimes, despite regular maintenance, you might encounter persistent issues. Here’s how to deal with them:
Hard Water Stains and Streaks
- Vinegar Solution: Use a solution of white vinegar and water to treat hard water stains. The acidity helps break down the minerals.
- Commercial Cleaners: For stubborn stains, a cleaner designed for hard water stains can be effective.
Removing Tough Residues
- Adhesive Residues: Apply a small amount of rubbing alcohol or a commercial adhesive remover to a cloth and gently rub the area.
- Bird Droppings: Soak the droppings with your cleaning solution for a few minutes before gently wiping them away.
By following these steps for drying, polishing, and maintaining your windows, along with troubleshooting common issues, you can keep your windows in pristine condition, enhancing your home’s beauty and functionality.