Table of Contents Show
Over the years, I’ve tackled numerous house projects, always with an eye for detail and a commitment to client satisfaction. As we all know, the bathroom is a sanctuary in any home, a place where cleanliness equates to comfort.
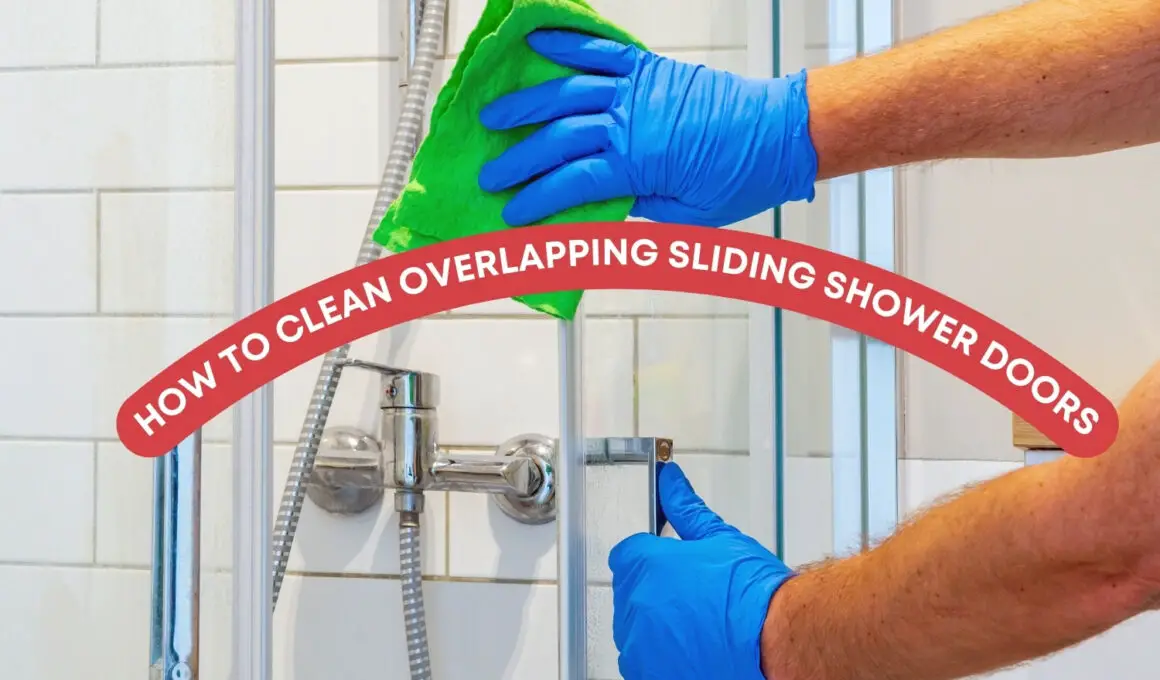
Overlapping sliding shower doors, in particular, require special attention due to their design and frequent use. Left unchecked, soap scum, water stains, and mildew can turn these doors from a bathroom highlight into a hygiene concern.
But fear not, with the right approach, maintaining the pristine condition of your shower doors can be a simple, hassle-free part of your home care routine.
In this guide, we’ll walk you through the essentials of effectively cleaning your sliding shower doors. You’ll learn not just how to clean, but also how to maintain them in a way that prolongs their life and keeps them functioning as they should.
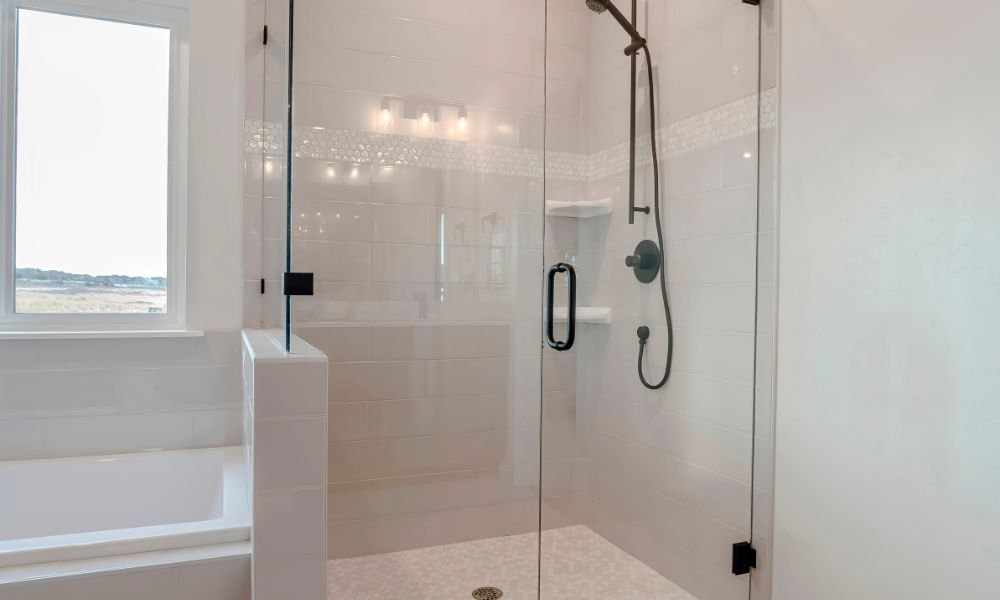
Preparation for Cleaning Overlapping Sliding Shower Doors
Before you start the cleaning process, it’s important to gather all the necessary materials and take the appropriate safety precautions. Here’s a simple list to help you prepare:
Materials and Cleaning Agents Needed
- Mild Dish Soap: Effective for cutting through grease and soap scum.
- White Vinegar: Excellent for dealing with hard water stains.
- Baking Soda: Useful for stubborn stains and mildew.
- Rubber Gloves: To protect your hands from cleaning agents.
- Non-Abrasive Sponge or Soft Cloth: For scrubbing without scratching the glass.
- Squeegee: For a streak-free finish.
- Bucket or Spray Bottle: For mixing and applying cleaning solutions.
- Old Toothbrush: Handy for cleaning tracks and hard-to-reach areas.
- Microfiber Towel: For drying and polishing the glass.
Safety Precautions and Preparation Steps
- Ventilation: Ensure the bathroom is well-ventilated to avoid inhaling fumes, especially if you’re using vinegar.
- Protective Gear: Wear rubber gloves to protect your hands from any harsh cleaning agents.
- Test Cleaning Agents: Always test your cleaning solution on a small, inconspicuous area first to ensure it doesn’t damage the surface.
- Remove Personal Items: Clear any toiletries or personal items from the shower area to prevent them from getting in the way or being damaged.
- Prepare the Surface: Wipe down the doors with a damp cloth to remove loose dirt and debris before applying any cleaning solution.
With these materials and safety steps in place, you’re now ready to efficiently and safely clean your overlapping sliding shower doors.
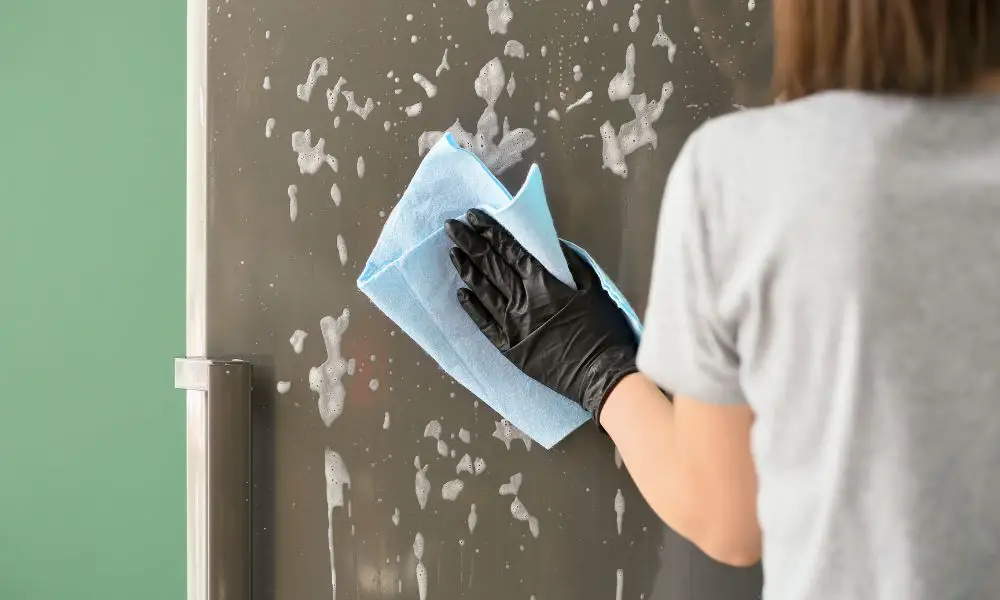
Step-by-Step Cleaning Guide for Overlapping Sliding Shower Doors
Cleaning your overlapping sliding shower doors can be simple and effective when done regularly. Here’s a straightforward step-by-step guide to help you achieve sparkling clean doors:
Step 1: Mix Your Cleaning Solution
- For General Cleaning: Mix a solution of mild dish soap with warm water in a spray bottle or bucket.
- For Hard Water Stains: Combine equal parts of white vinegar and water. For tougher stains, use vinegar undiluted.
- For Mold and Mildew: Create a paste with baking soda and a small amount of water.
Step 2: Apply the Cleaning Solution
- Generously spray or apply your chosen cleaning solution to the entire surface of the shower doors.
- Allow it to sit for a few minutes, especially if tackling tough stains or buildup.
Step 3: Scrub Gently
- Use a non-abrasive sponge or soft cloth to gently scrub the glass. Avoid harsh scrubbing which can scratch the surface.
- For tracks and crevices, use an old toothbrush for more precise cleaning.
Step 4: Address Specific Issues
- Hard Water Stains: For stubborn stains, apply vinegar directly and let it sit for 10-15 minutes before scrubbing.
- Soap Scum: If soap scum is heavy, reapply your soap and water solution and scrub with a bit more pressure.
- Mold and Mildew: Apply the baking soda paste directly onto affected areas and scrub gently. Rinse thoroughly afterward.
Step 5: Rinse Thoroughly
Use clean water to rinse off all cleaning solutions from the shower doors. Make sure no residue is left behind.
Step 6: Dry and Polish
- Use a squeegee to remove excess water from the glass. This step is crucial for a streak-free finish.
- Dry any remaining droplets with a microfiber towel. This will also help polish the glass.
Step 7: Regular Maintenance
After each use of the shower, it’s beneficial to quickly rinse the doors and use a squeegee to prevent water spots and buildup.
By following these steps, you’ll effectively clean your overlapping sliding shower doors, tackling common issues like hard water stains, soap scum, and mold. Regular maintenance is key to keeping them looking their best.
Sometimes, standard cleaning methods may not be enough, especially when dealing with persistent stains or buildup. In such cases, advanced cleaning techniques can be employed for more effective results.


