

Table of Contents Show
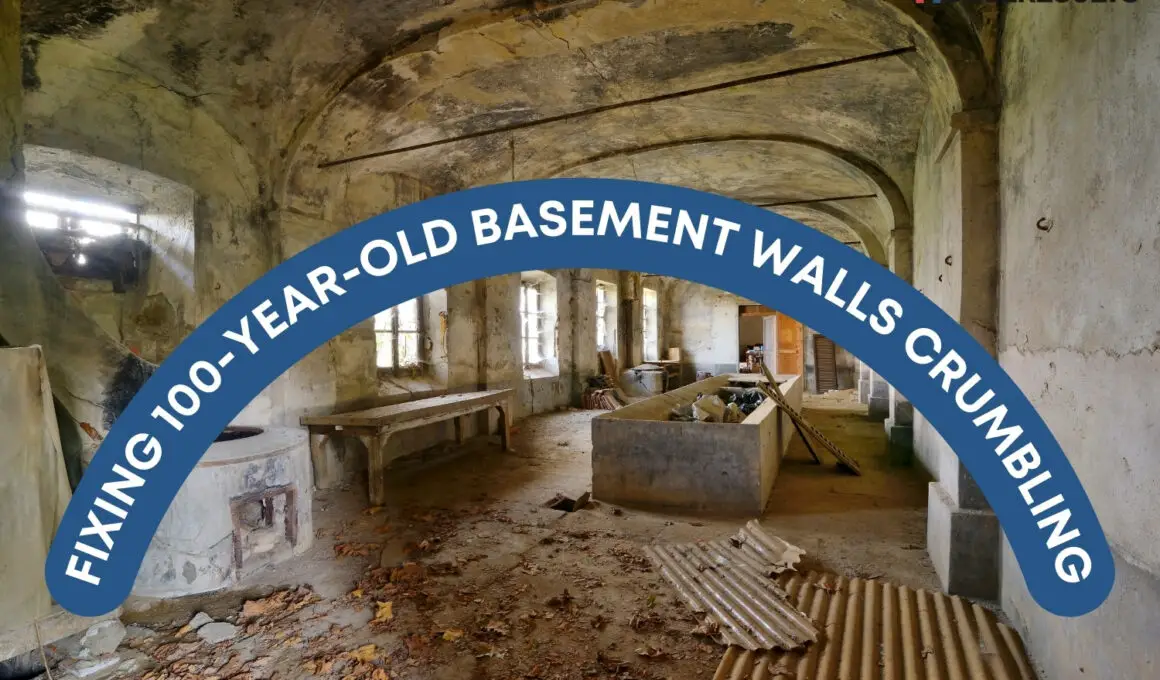
Is your century-old basement showing signs of age, with crumbling walls that have you worrying about structural integrity? You’re not alone. Many homeowners struggle with the same issue. As someone who gets invited to clean and inspect homes for a living, I’ve come across this situation more times than I can count.
Old basements, particularly those hitting the 100-year mark, often face issues that newer, modern basements don’t. Over the years, I’ve dedicated myself to finding solutions for these old house challenges, combining professional expertise with hands-on experience to develop practical, cost-effective solutions.
This has been a necessity for the upkeep of my home and an essential part of the content I share with my readers on this blog.
In this comprehensive guide, I’ll walk you through fixing crumbling basement walls in a 100-year-old house. We’ll look at why these issues occur, how to identify and assess the damage, various repair methods you can use, preventive measures for the future, and when it’s time to call in the professionals.
Understanding The Problem
Old houses, especially those hitting the century mark, have a unique charm and history that newer homes simply can’t replicate. However, they also often come with unique challenges, one of which is the tendency for basement walls to crumble.
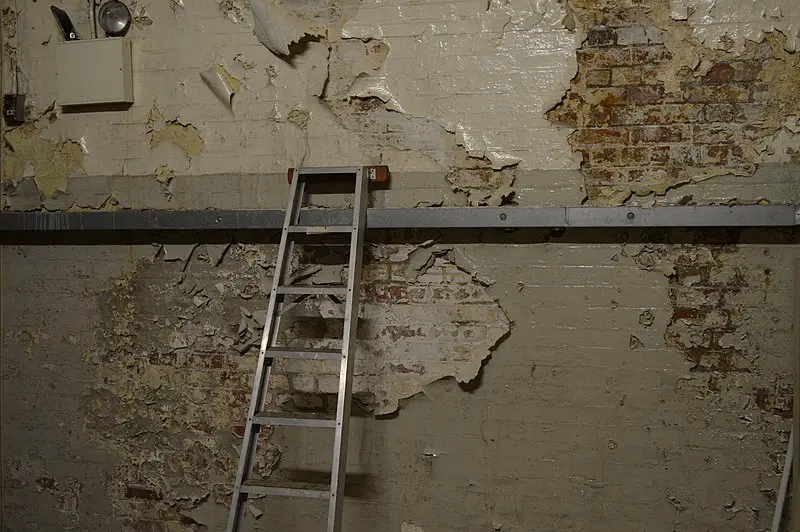
Basement walls deteriorate over time, particularly those made from older materials like stone or brick. The primary reason behind this crumbling is moisture.
Water seeping through the walls from the surrounding soil can cause the material to weaken, eventually leading to deterioration and crumbling. This process is known as efflorescence.
Environmental factors can also accelerate this deterioration. For instance, freeze and thaw cycles in colder climates can cause the water in the walls to expand and contract, leading to further damage.
Additionally, 100-year-old basements weren’t designed with modern-day waterproofing techniques, which can make them more susceptible to water and moisture damage. Over the years, even small amounts of water seepage can cause significant issues.
Understanding why your basement walls are crumbling is the first step toward solving the problem. The next step is identifying the signs of damage and assessing the extent of it.
Identifying the Signs of a Crumbling Basement Wall
As a homeowner and professional with over a decade’s experience in house organization and cleaning, I’ve come across a range of signs indicating a basement wall is deteriorating. It’s essential to spot these early to take preventive measures before the problem escalates.
1. Efflorescence
Efflorescence is one of the most common signs of a crumbling basement wall. This is a white, powdery substance that appears on the wall surface. It’s actually the salt left behind when water seeps through the wall and then evaporates.
2. Bowed Walls
Bowed walls are a serious indication of structural issues. If your basement walls start to curve inward, it could be due to the exterior soil pressure.
3. Mold and Mildew
Damp basements can lead to the growth of mold and mildew, which can not only damage your walls but can also cause health problems.
4. Wall Cracks
Small hairline cracks are often just cosmetic, but larger, horizontal cracks could indicate serious structural issues and need to be addressed promptly.
5. Water Stains
These are often a sign that water is seeping through your walls or that there has been a leak in the past.
6. Deteriorating Mortar
If the mortar (the material that holds the bricks or stones together) is eroding, your walls could be at risk of collapsing.
By being vigilant and regularly inspecting your basement for these signs, you can spot issues early and address them before they cause serious damage.
Assessing the Extent of Damage
Identifying the signs of a crumbling basement wall is just the first step. Once you’ve spotted these signs, it’s crucial to accurately assess the damage’s extent. In my 13 years of professional experience in this field, I’ve learned that a correct damage assessment can distinguish between a successful and failed repair.
1. Surface-Level Damage
Start by looking for superficial signs of damage. This could include efflorescence, minor cracks, small areas of crumbling or mold, and mildew. In most cases, surface-level damage can be repaired without professional help.
2. Structural Damage
Next, look for signs of structural damage. This includes bowed walls, large horizontal or diagonal cracks, or significant portions of the wall crumbling away. Such signs suggest a deeper issue, potentially requiring the attention of a professional.
3. Other Indicators
Finally, look for other indicators that the problem might be more significant. For example, if you’re experiencing frequent water leaks in your basement or if the condition of the walls continues to deteriorate rapidly despite your repair efforts, this could point to a more extensive issue.
A word on safety: Keep in mind that while it’s essential to assess the damage, safety should be your top priority. If the wall structure appears severely compromised (for example, if it’s severely bowed or there are large cracks), it’s crucial to call in a professional immediately.
Choosing the Right Repair Method
With the extent of the damage at hand, it’s time to decide on the appropriate repair method. In my 13 years of experience in maintaining and organizing homes, I’ve seen that the right repair method often depends on the severity and type of damage.
1. Surface Repairs
For minor, surface-level issues, repairs can often be done using simple tools and materials available at your local home improvement store. This might involve:
- Filling Cracks: For minor, non-structural cracks, you can use a patching compound or masonry caulk to fill the gaps.
- Scraping off Efflorescence: A wire brush can be used to scrape off efflorescence from the wall’s surface.
- Applying a Sealant: After the repairs, consider applying a waterproof sealant to help protect the walls from future water damage.
2. Major Repairs
Major, structural issues will often require more intensive repairs. Some of these methods include:
- Installing Wall Anchors or I-Beams: If your walls are bowing significantly, you might need to install wall anchors or I-beams to help support and straighten them.
- Underpinning: If your foundation is sinking or unstable, underpinning might be necessary to provide extra support.
Always remember, if the damage is severe or you’re unsure about the appropriate repair method, it’s best to call in a professional. They’ll have the skills, knowledge, and equipment to handle the repair safely and effectively.
Step-by-Step Guide to Fixing Crumbling Basement Walls
With over a decade of hands-on experience in home care, I’ve managed to devise a comprehensive, yet simple, process for fixing minor damage to your basement walls. Here’s my tried and tested method:
Step 1: Prep the Area
Start by moving any furniture or belongings away from the affected wall. Cover the floor with a drop cloth to catch any debris that falls during the repair process.
Step 2: Clean the Wall
Use a wire brush to scrape off any loose material from the wall. This includes efflorescence, loose mortar, or crumbling brick or stone. Vacuum or sweep up the debris once you’re done.
Step 3: Patch the Cracks
For small cracks, use a patching compound or masonry caulk. Follow the manufacturer’s instructions on the product’s packaging for the best results. Usually, you’ll need to apply the compound to the crack, smooth it over, and then let it dry.
Step 4: Seal the Wall
Once the patching compound has dried, it’s time to seal the wall. Use a high-quality waterproof sealer designed for basement walls. Apply the sealer according to the manufacturer’s instructions, typically with a brush or roller.
Step 5: Check Your Work
Once the sealer has dried, check your work. The wall should look smooth, and there shouldn’t be any visible cracks or crumbling areas.
Step 6: Maintain Your Basement
Once your repair is complete, it’s crucial to maintain your basement to prevent future issues. This includes regular checks for any new signs of damage and taking steps to manage moisture in your basement.
In my experience, preventative measures are crucial to keeping your basement in good shape. In the next section, we’ll go over some of these preventative measures that I’ve found effective in my own home and professional practice.
Preventive Measures to Avoid Future Damage
Preventing damage is always better (and often cheaper) than having to fix it. Over the years, I’ve discovered a few effective strategies to prevent future damage to your basement walls. Here’s what I suggest:
1. Improve Drainage
Water is the enemy of your basement walls. One of the best ways to prevent future damage is to ensure that water drains away from your home. This might involve grading your yard so it slopes away from your house, cleaning and repairing gutters and downspouts, or installing a French drain.
2. Waterproof Your Basement
Waterproofing your basement can significantly reduce the chances of future wall damage. This can involve applying a waterproofing sealant to your basement walls, installing a sump pump, or even professional exterior waterproofing.
3. Monitor Humidity Levels
High humidity can also contribute to basement wall damage. Consider using a dehumidifier in your basement, especially during the warmer months when humidity levels are often higher.
4. Regular Inspections
Regularly inspect your basement walls for any signs of new damage. Catching problems early can often make the repair process much simpler and less costly.
5. Professional Inspections
If you live in a particularly old home or in an area with a high water table or heavy rainfalls, consider having your basement professionally inspected every few years. A professional can spot potential issues before they become major problems.
By following these preventative measures, you can significantly reduce the risk of future damage to your basement walls. However, remember that every home is unique, and what works for one might not work for another.
When to Call in a Professional
While there’s a lot you can do on your own when it comes to fixing and preventing basement wall damage, there are times when it’s best to call in a professional. In my 13 years of experience in the field, I’ve learned to identify when professional help is necessary.
1. Major Structural Damage
If your basement walls show signs of major structural damage like severe bowing, large horizontal or diagonal cracks, or significant areas of crumbling, it’s time to call in a professional. These issues can risk the structural integrity of your entire home if not properly addressed.
2. Recurring Issues
If you find that you’re having to make repairs often, or if damage keeps recurring despite your best efforts, a professional can help identify the root cause and provide a more permanent solution.
3. Insufficient Knowledge or Tools
Repairing basement walls can be a complex task, and if you’re not confident in your ability to do the work or don’t have the right tools, it’s safer and often more cost-effective in the long run to hire a professional.
4. Safety Concerns
If there are any safety concerns, such as the risk of a wall collapsing, it’s always best to call a professional. They have the training and equipment to handle these situations safely.
Frequently Asked Questions about Fixing Crumbling Basement Walls
Why are my basement walls crumbling?
The most common cause of crumbling basement walls, especially in older homes, is moisture. Water can seep into the walls from the surrounding soil, causing the material to weaken and crumble. Additionally, older homes were not built with modern-day waterproofing techniques, making them more susceptible to water damage.
Can I repair my basement walls myself?
For minor, surface-level damage, it’s often possible to make repairs yourself using basic tools and materials. This might involve filling cracks with a patching compound, scraping off efflorescence, or applying a waterproof sealer. However, for major structural issues, it’s always best to call in a professional.
How can I prevent my basement walls from crumbling in the future?
Preventative measures can include improving drainage around your home, waterproofing your basement, monitoring humidity levels, and conducting regular inspections of your basement walls.
How do I know if it’s time to call in a professional?
It’s time to call in a professional if you notice signs of major structural damage, such as severe bowing or large horizontal or diagonal cracks if issues keep recurring despite your best efforts, or if you have any safety concerns.
Can a completely crumbled wall be repaired, or does it need to be replaced?
It depends on the extent of the damage. If a wall is severely compromised, it might need to be replaced. A professional can assess the situation and provide the best solution.
Wrapping Up
Ultimately, it’s crucial to recognize that while DIY solutions can be effective for minor issues, major repairs should always be left to professionals. It’s not worth risking your safety or the structural integrity of your home to save a bit of money.