


Table of Contents Show
I’ve had the pleasure of working on countless home projects over the years, both as a dedicated homeowner and a seasoned contractor. One consistent element that pops up in attic renovations or upgrades is Romex wiring.
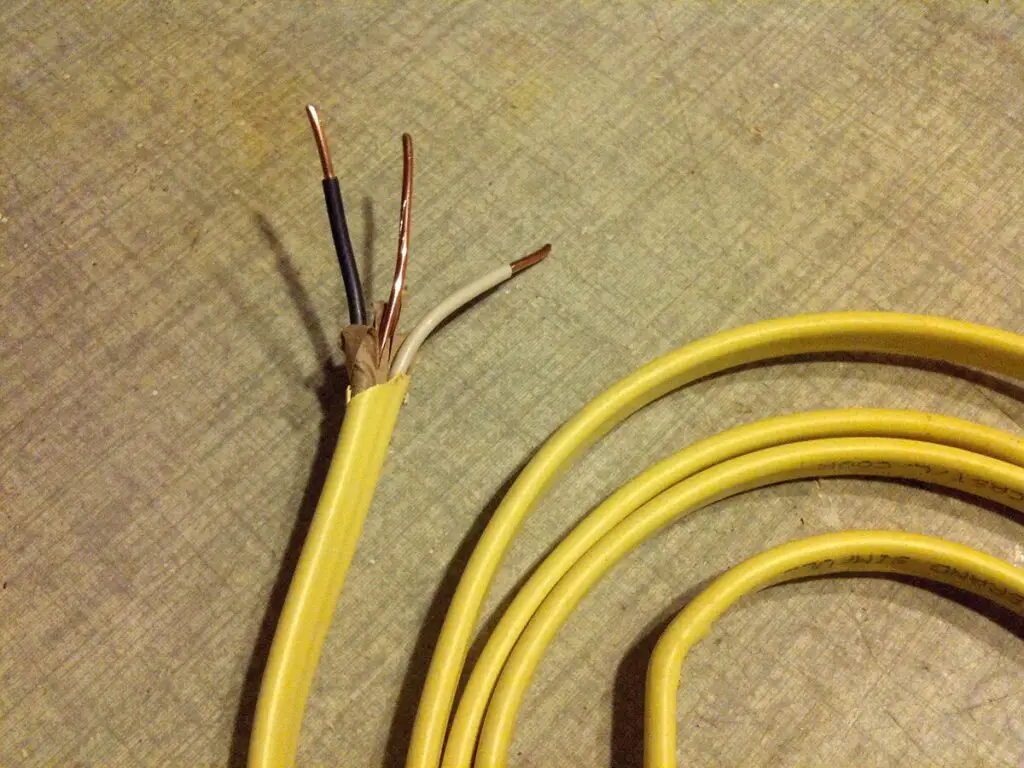
So, what is Romex? It’s a brand name that’s often used to describe non-metallic sheathed cable, a standard wiring solution for residential projects.
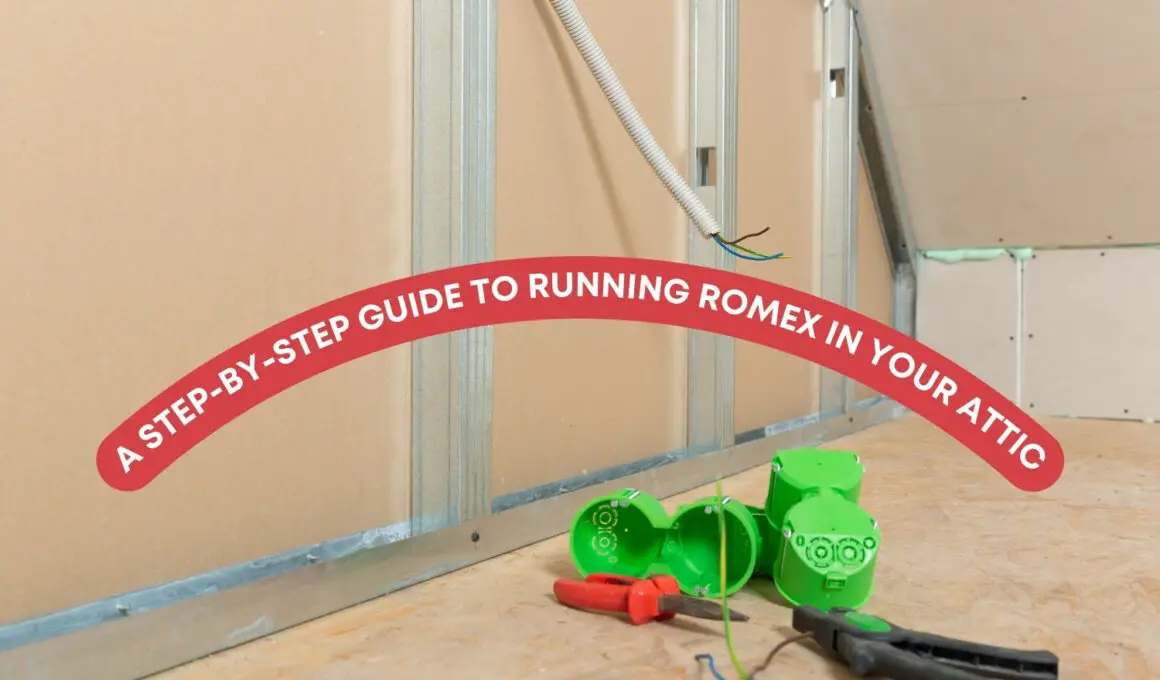
You’re probably here because you’re considering running Romex in your attic or simply wish to understand the process better. And you’re in the right place! In this guide, “A Step-by-Step Guide to Running Romex in Your Attic,” we’ll walk through the essentials.
Whether you’re a DIY enthusiast or someone just starting their home improvement journey, the information is accessible and actionable. With safety and professionalism at the core, let’s set the groundwork for a successful project together.
Benefits of Using Romex in the Attic
The choice of materials for any project can significantly influence both its success and overall cost. When it comes to attic wiring, Romex offers several advantages that make it a top pick for homeowners and professionals alike:
1. Cost-effectiveness
In comparison to other wiring solutions, Romex tends to be more budget-friendly. This doesn’t mean it compromises on quality. Instead, its design and materials are both durable and cost-efficient, providing homeowners with a solution that won’t break the bank.
2. Durability in High-Temperature Environments
Attics are notorious for experiencing extreme temperature fluctuations. The summer heat can turn them into veritable ovens. Romex wiring, fortunately, is designed to withstand these high-temperature conditions. Its insulation and construction ensure that it remains effective and safe even when the attic’s temperature climbs.
3. Simplified Installation Process
For those who’ve tangled with other types of wiring, the ease of installing Romex can be a refreshing change. Its non-metallic sheathed design means fewer components to deal with, and its flexibility ensures it can be routed effectively in various attic scenarios.
According to a study published in the ICT University Journal on Electrical Engineering & Technology, non-metallic sheathed cables, like Romex, have demonstrated consistent performance and safety in residential settings, especially in areas with temperature variations.
This scientific backing underscores its reliability and why many choose it for their attic wiring projects.
Preparation Steps Before Installing Romex
Before diving into any home project, especially when it involves electrical work, proper preparation is key. It not only ensures the smooth flow of the installation process but also guarantees safety at every step. If you’re considering running Romex in your attic, these are the foundational steps to follow:
1. Acquiring Necessary Permits
Before you start, check with your local municipality or city council about the need for permits. Every jurisdiction might have its own set of rules and regulations concerning electrical work. By acquiring the necessary permits, you’re ensuring that your project is up to code and that you avoid any potential legal or safety complications down the road.
2. Ensuring Power Is Turned Off for Safety
This is a crucial step! Before you begin working with any wires, always ensure that the power is turned off. Head to your home’s main electrical panel and turn off the circuit or circuits you’ll be working on.
A pro tip from someone who’s been there and done that: Use a voltage tester to double-check that there’s no current flowing in the wires you’re about to work on. It’s always better to be safe than sorry!
3. Gathering Required Tools and Materials
Having the right tools on hand can make the installation process significantly smoother. Here’s a basic list:
List of Essential Tools
- Wire strippers: For removing insulation from the wire ends.
- Needle-nose pliers: For bending wire and making connections.
- Romex cable ripper: To strip the outer sheath without damaging inner wires.
- Electric drill and bits: For creating holes in joists or studs if necessary.
- Voltage tester: To ensure there’s no current in the wires you’re working on.
- Hammer: Useful for securing wire staples.
Recommended Safety Gear
- Safety glasses: Protect your eyes from any debris.
- Insulated gloves: To keep your hands safe from potential electrical currents.
- Dust mask: Attics can be dusty, and a mask can prevent inhalation of particles.
- Knee pads: Because you might spend a lot of time kneeling on rough surfaces.
Remember, a well-prepared workspace and the right tools can significantly influence the success of your Romex installation project. Lay out everything you need beforehand, and ensure that your work area is safe, well-lit, and free of any unnecessary obstructions.
Safety Tips Before Beginning
Safety should always be at the forefront of any DIY project, especially when working with electrical components. As someone who’s seen the many facets of home renovation, I can’t stress enough the value of caution and preparedness. So, before you start running that Romex wire through your attic, let’s review some safety essentials:
1. Importance of Wearing Personal Protective Equipment (PPE)
Your safety gear is your first line of defense against potential injuries. While it might seem tedious to gear up, remember that these items are designed to protect you:
- Safety glasses: Protect against debris or unexpected splinters.
- Insulated gloves: These can shield your hands not just from electrical currents, but also from sharp objects or rough surfaces.
- Dust mask: Attics are often filled with dust or old insulation particles. A mask ensures you aren’t breathing in these irritants.
- Knee pads: Especially important if you’ll be kneeling or moving around the attic floor.
2. Avoiding Attic Hazards
- Insulation: Some older homes might have asbestos or other types of hazardous insulation. Always be aware of what type you’re dealing with. If unsure, consider getting it checked by a professional.
- Nails: Protruding nails from the roof can be a real hazard. Watch your head and hands, and be mindful of your surroundings.
- Pests: It’s not uncommon to find signs of rodents or insects in attics. If you come across droppings, nests, or live pests, consider addressing the issue before proceeding with the installation.
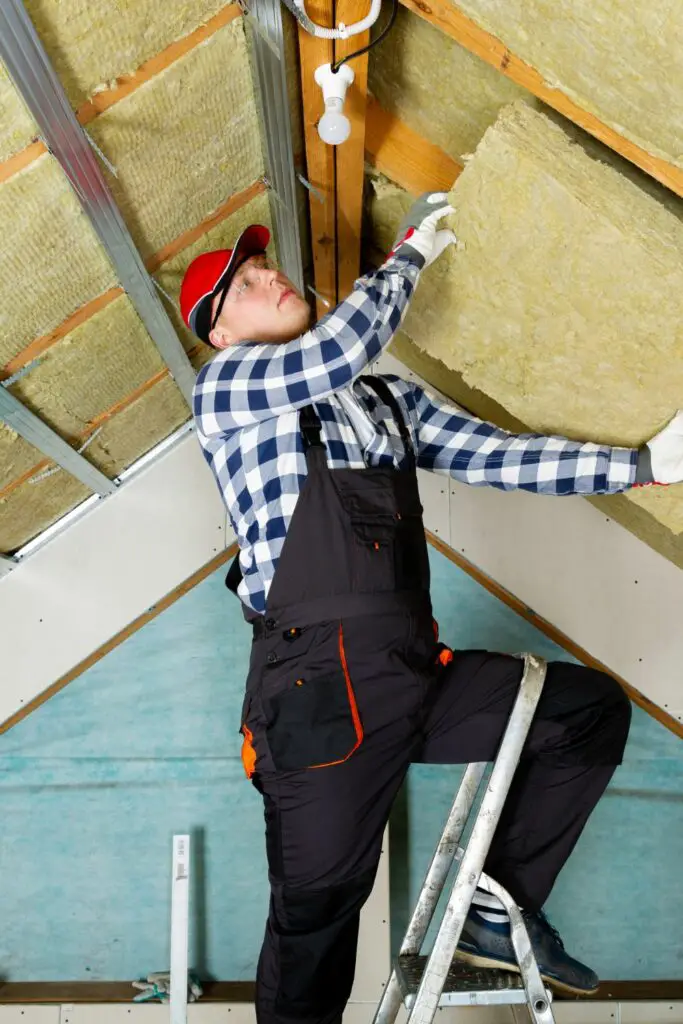
3. Working in a Well-Lit Environment
Lighting can make a huge difference in both the ease and safety of your project. A well-lit space helps you see what you’re doing clearly, preventing missteps or mistakes. Portable work lights or headlamps can be a boon in darker attic spaces.
Ensure any lighting equipment you use is stable and positioned in a way that it doesn’t become a tripping hazard.
Safety isn’t just a one-time checklist; it’s a continuous practice. By being mindful and prepared, you can ensure that your Romex installation in the attic is both successful and safe.
Step-by-Step Guide to Running Romex in Your Attic
Electrical work, particularly in a space as unique as an attic, requires precision and care. To help you navigate this process, I’ve broken down the journey of installing Romex into manageable steps. By following these, you’re setting yourself up for a smooth and efficient wiring job. Let’s get into it.
Step 1: Planning the Wiring Path
- Tips for Efficient Wire Routing: Chart out the shortest and most direct path from your source to the destination. Avoid areas where there’s frequent foot traffic or storage, and always consider future accessibility for repairs or inspections.
- Keeping Wiring Away from Potential Damage Sources: This includes staying clear of sharp edges, high heat sources like chimneys or vents, and areas prone to moisture or leaks.
Step 2: Drilling Necessary Holes
- Selecting the Right Drill Bit: Choose a drill bit that’s slightly larger than the diameter of the Romex wire. This ensures the wire slides through without causing damage to its sheathing.
- Keeping Holes Aligned and Spaced Properly: Consistency is key. Align holes vertically when passing through joists for an organized look and easier wire pulling.
Step 3: Laying Down the Romex Wire
- How to Unroll and Straighten the Wire: Roll out the Romex on a flat surface, applying gentle pressure to straighten any kinks. Always handle with care to avoid damaging the insulation.
- Routing the Wire Through Drilled Holes: Start at the source and work your way to the destination, gently pushing and pulling the Romex through the holes.
Step 4: Securing the Romex Wire
- Importance of Wire Staples: These secure the wire in place, preventing it from sagging or moving. This not only looks neater but ensures the wire remains undamaged over time.
- Spacing and Placement Guidelines: Typically, secure the wire with staples at least every 4.5 feet and within 12 inches of electrical boxes.
Step 5: Connecting Romex to Electrical Boxes
- Stripping the Wire: Using wire strippers, remove the last few inches of outer sheathing to expose the individual wires inside.
- Making Secure Connections: Connect each wire to its corresponding terminal in the electrical box. Always ensure a snug fit.
Step 6: Testing and Inspecting the Installation
- Verifying Connections: Before restoring power, double-check that all connections are secure and in their appropriate places.
- Using a Multimeter for Testing: A multimeter is an invaluable tool. Before turning the power back on, you can test for continuity and ensure there are no shorts in your connections.
According to an article in Electrical Construction & Maintenance Magazine, a well-structured and systematic approach to wiring can significantly reduce potential electrical issues and increase the longevity of the wiring system. This emphasizes the importance of following each step diligently and not rushing the process.
Final Safety Checks and Precautions
After installing the Romex in your attic, it’s vital to run through some final safety checks and precautions. This wrap-up ensures that the work you’ve done is not only functional but also enduringly safe. Here’s what to keep in mind:
1. Ensuring All Connections are Secured and Capped
- After making connections, always double-check that they are snug and correctly placed. Loose connections can lead to potential electrical hazards or ineffective circuits.
- Once verified, use wire nuts or caps to safely cover any exposed wire ends. This prevents unintentional contact or shorts.
2. Keeping Romex Away from Heat Sources and Potential Hazards
- If you have appliances, HVAC systems, or any other heat-generating fixtures in your attic, ensure the Romex wiring is routed well away from these. Excessive heat can damage the wire’s insulation over time.
- Also, watch out for areas prone to moisture or where leaks might occur. Water and electricity are a dangerous mix, so always position your wires in dry, safe zones.
3. Importance of Regular Inspections
- Over time, environmental factors, pests, or simple wear and tear can affect your wiring. To ensure the continued safety and functionality of your Romex in the attic, make it a practice to inspect it periodically.
- Look for signs of damage, wear, or potential hazards. By catching issues early, you can address them before they become significant problems.
While the process of running Romex in your attic might be complete, remember that maintaining its safety is an ongoing commitment. By following these final checks and being proactive with inspections, you’ll ensure a safe and efficient electrical system for years to come.