


Table of Contents Show
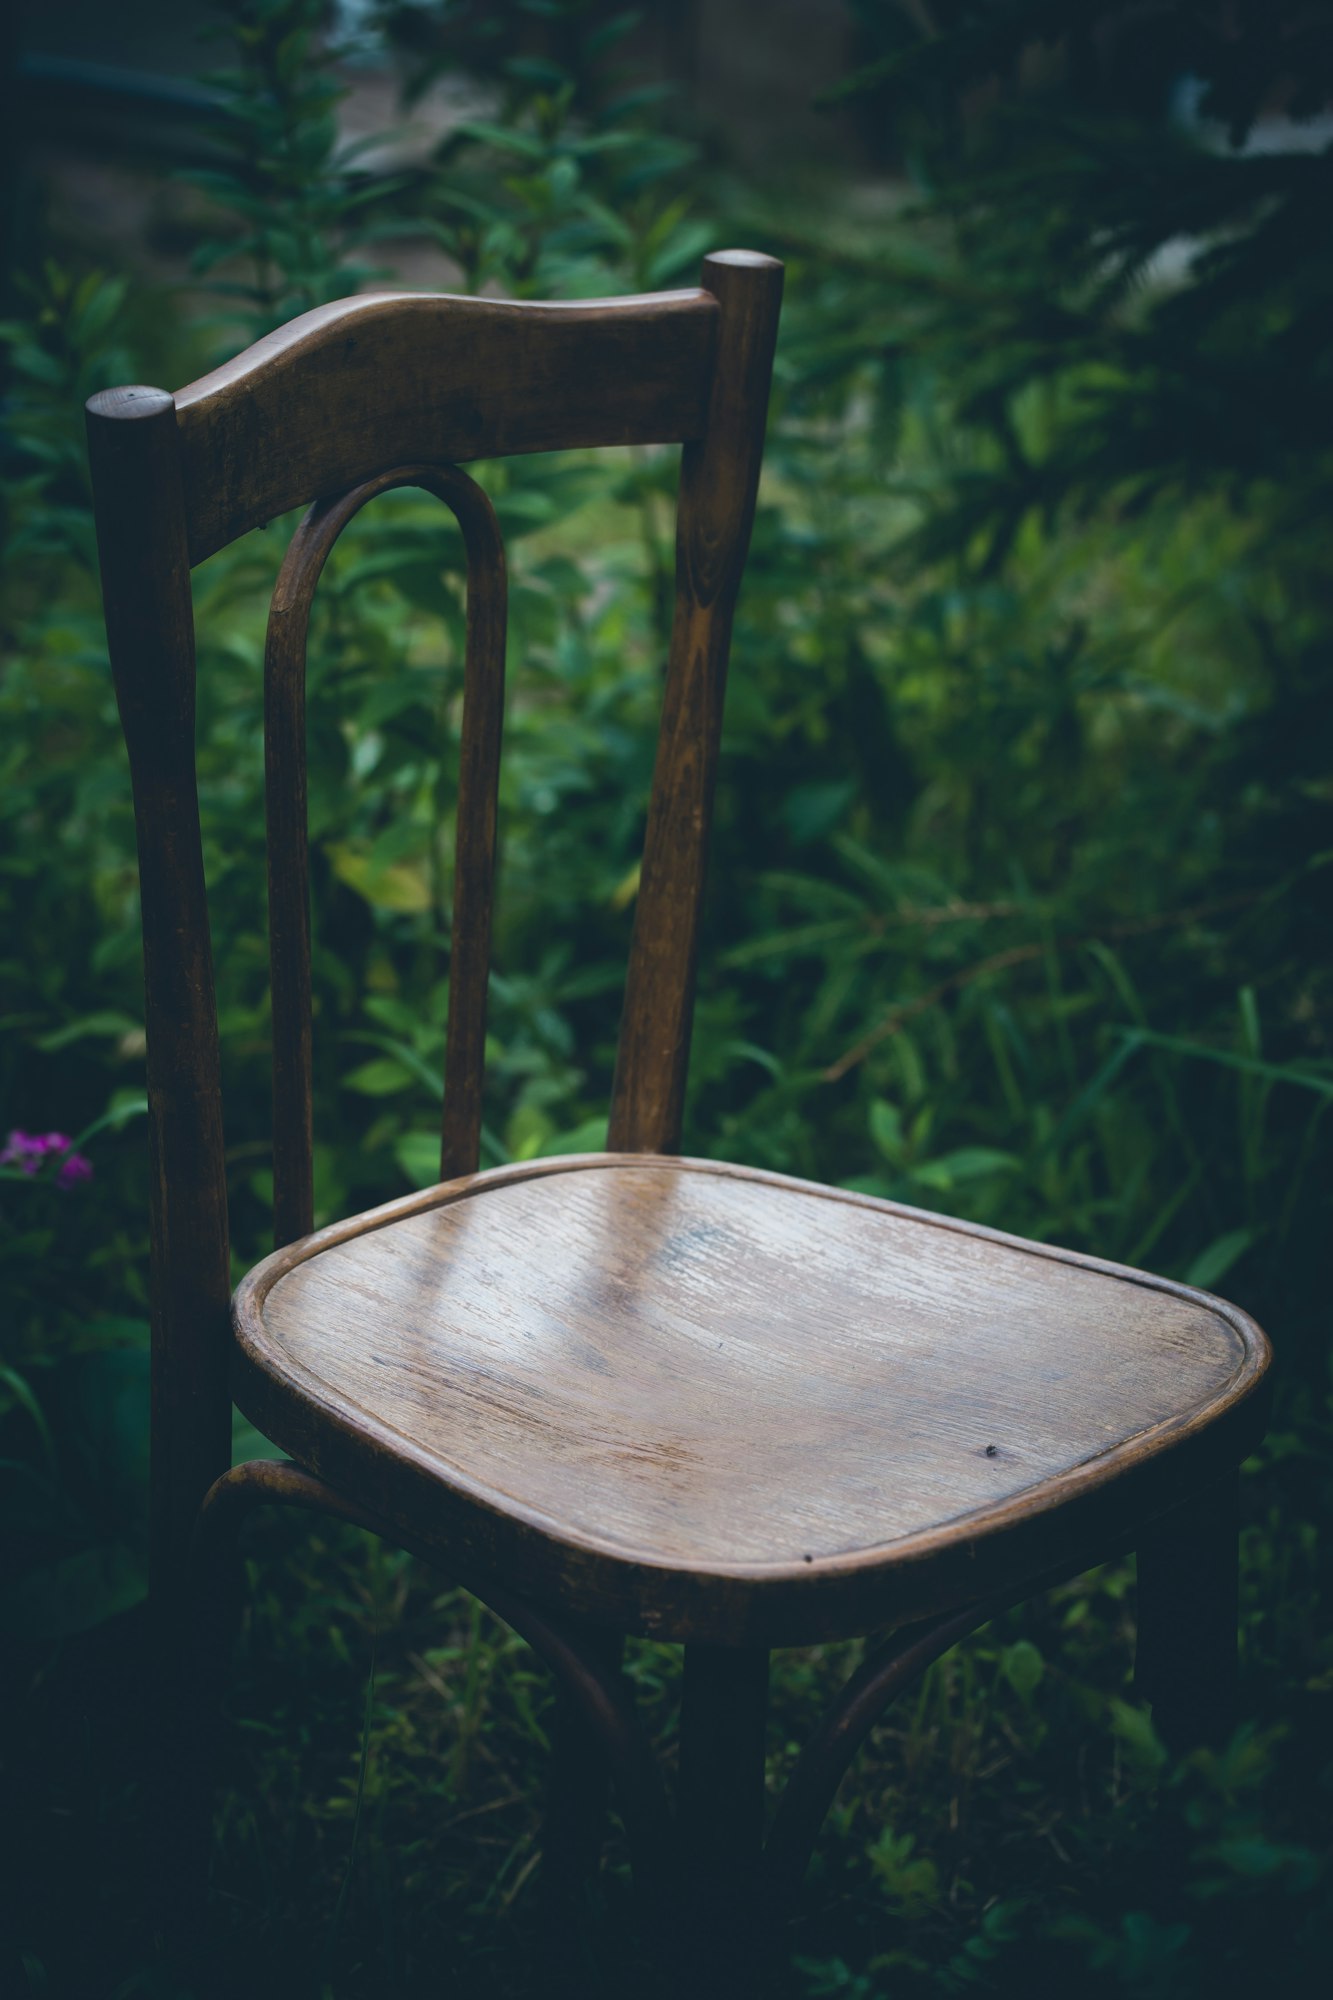
Antique wooden furniture isn’t just a part of your home decor; it’s a link to the past that requires careful maintenance. In this guide, I’ll share proven methods that keep your precious items in pristine condition without causing damage.
We’ll use straightforward, easy-to-understand language to explore the essentials of gentle cleaning, focusing on preserving the appearance and value of your antique furniture. Whether you’re looking to rejuvenate a family heirloom or maintain the integrity of your latest market find, these steps will help ensure your antique pieces stand the test of time.
Materials Needed For Cleaning Antique Wooden Furniture
To ensure the best care for your antique wooden furniture, it’s crucial to use the right materials. Here’s a list of essentials you’ll need to get started:
- Soft Microfiber Cloths: These cloths are gentle on wood surfaces and effective at picking up dust without scratching the finish.
- Gentle Cleaning Solution: A mild dish soap diluted with water will do the trick for most cleaning tasks. It’s strong enough to clean but gentle enough to preserve the wood’s integrity.
- Mineral Spirits (optional): For more stubborn stains or built-up grime, mineral spirits can be a safe option. Use sparingly and always test on a small, inconspicuous area first.
- Soft-bristled Brushes: These brushes allow you to reach into detailed carvings and crevices without harming the wood’s surface.
- Furniture Wax or Polish Suitable for Antiques: Choose a product designed specifically for antiques to enhance the wood’s natural beauty and provide protection.
How to Clean Antique Wooden Furniture
By cleaning your antique wooden furniture regularly using the correct techniques, you can significantly prolong its beauty and structural integrity, ensuring that it continues to enhance your home and perhaps even increases in value as an heirloom.
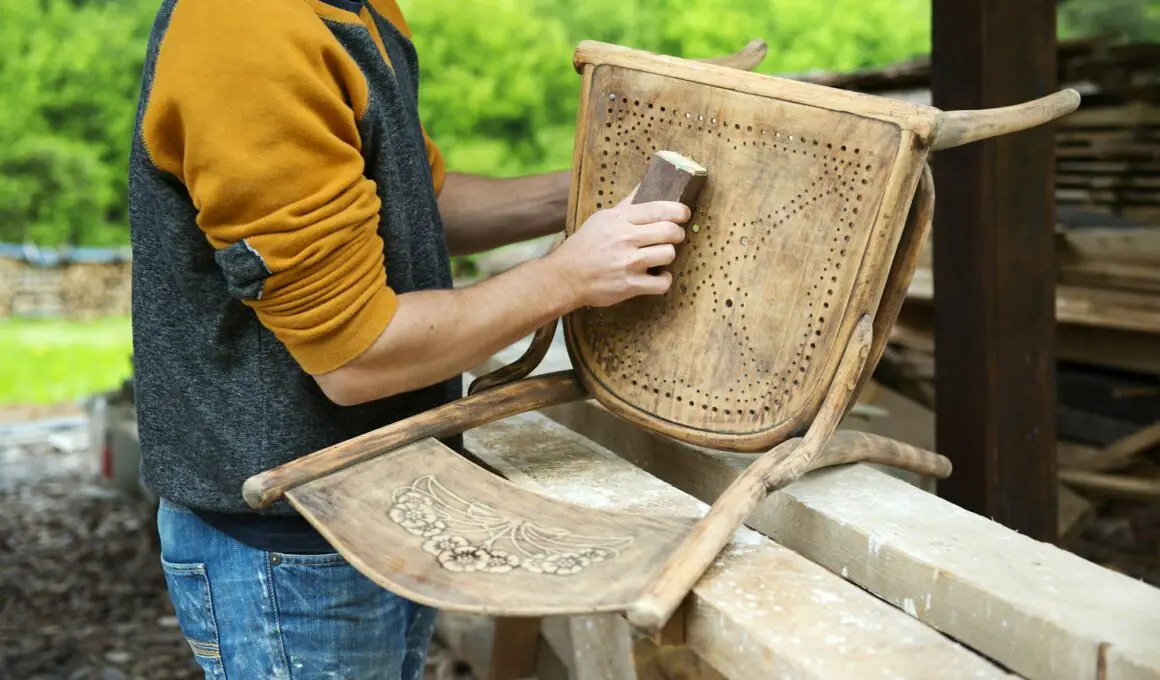
Step 1: Dusting the Surface
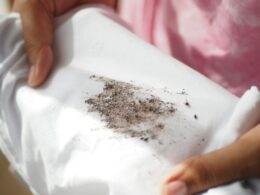
Regular dusting is a fundamental first step in maintaining antique wooden furniture. Over time, accumulated dust can degrade the finish and even scratch the wood surface if not removed properly. Here’s how to do it right:
Importance of Regular Dusting
Dusting your antique furniture regularly prevents the buildup of airborne particles that can scratch the surface over time. It also helps maintain the wood’s natural luster and prevents the grime from becoming ingrained, which can be much harder to clean later.
Correct Technique for Dusting
To dust properly, always use a soft microfiber cloth, which traps particles without leaving scratches. Avoid using feather dusters or rough fabrics that might drag dirt across the surface. Here’s the technique:
- Lightly dampen the microfiber cloth with clean water to help capture more dust.
- Gently wipe the surface in the direction of the wood grain to minimize abrasion.
- For carved or detailed areas, use a soft-bristled brush to gently dislodge dust without pressing too hard.
How Dust Can Damage the Surface Over Time
Dust acts like fine sandpaper under certain conditions, especially when it’s moved around on the surface during cleaning or regular use of the furniture. Over time, this can wear down the finish, making the wood more susceptible to damage from moisture and other environmental factors.
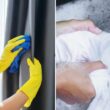
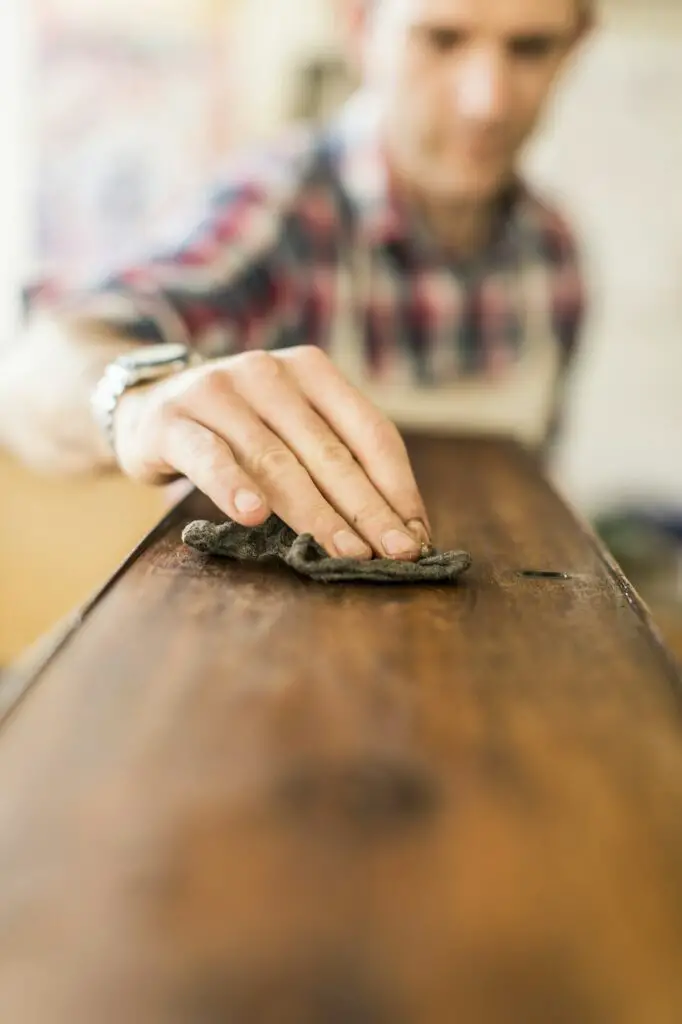
Step 2: Cleaning with Mild Soap Solution
After dusting, the next step is to gently clean the surface of your antique wooden furniture to remove any remaining dirt or oils that dusting alone can’t address. Using a mild soap solution is effective and safe for most antique woods.
Recipe for a Homemade Cleaning Solution
A simple yet effective cleaning solution can be made using ingredients you likely already have at home:
- Mix a few drops of mild dish soap with a quart of warm water. The water should be warm but not hot, as extreme temperatures can damage wood.
- Stir the solution gently to blend the soap without creating too many suds.
Technique for Applying and Wiping Off the Solution
Proper application is crucial to avoid damaging the wood:
- Dip a clean, soft microfiber cloth into the soap solution and wring it out thoroughly to ensure it’s only damp, not wet.
- Gently wipe the wood in the direction of the grain to clean the surface. Avoid scrubbing or using force.
- If you encounter sticky or stubborn spots, apply a little more pressure with the damp cloth, but be gentle to avoid scratching the wood.
- Use a soft-bristled brush for intricate carvings or hard-to-reach areas, dipping it in the soap solution and carefully working on the details.
Ensuring Minimal Moisture Contact with the Wood
Moisture is the enemy of antique wood, as it can cause swelling, warping, and staining. To minimize these risks:
- Always use a well-wrung-out cloth, ensuring it is damp but not wet.
- After cleaning, immediately dry the surface with a clean, dry microfiber cloth to remove any residual moisture.
- Never allow puddles of water to sit on the wood, and avoid cleaning methods that involve soaking or flooding the surface.
Step 3: Dealing with Stains and Grime
Stubborn stains and built-up grime can be challenging to remove from antique wooden furniture. For these tougher cases, mineral spirits can be an effective solution, but they must be used with care to avoid damaging the delicate surfaces of your antiques.
Using Mineral Spirits for Stubborn Stains
Mineral spirits are a type of solvent that can dissolve oils and waxes that may not come off with soap and water alone. Here’s how to use them safely:
- Pour a small amount of mineral spirits onto a clean, soft microfiber cloth. You want the cloth to be damp, not soaked.
- Test the mineral spirits on a small, inconspicuous area of the furniture first to ensure it does not damage the finish or discolor the wood.
- Gently rub the stained area with the dampened cloth, working in the direction of the wood grain. The mineral spirits should help break down the grease or wax, making it easier to wipe away.
Application Techniques to Avoid Damaging the Wood
Proper application is crucial when using a potent solvent like mineral spirits:
- Always use gentle, circular motions when applying mineral spirits, and avoid applying too much pressure which can damage the wood surface.
- After treating the stain, use a clean, dry cloth to wipe off any remaining solvent thoroughly. This prevents the mineral spirits from soaking into and potentially harming the wood.
- Ensure the room is well-ventilated, as mineral spirits can emit strong fumes.
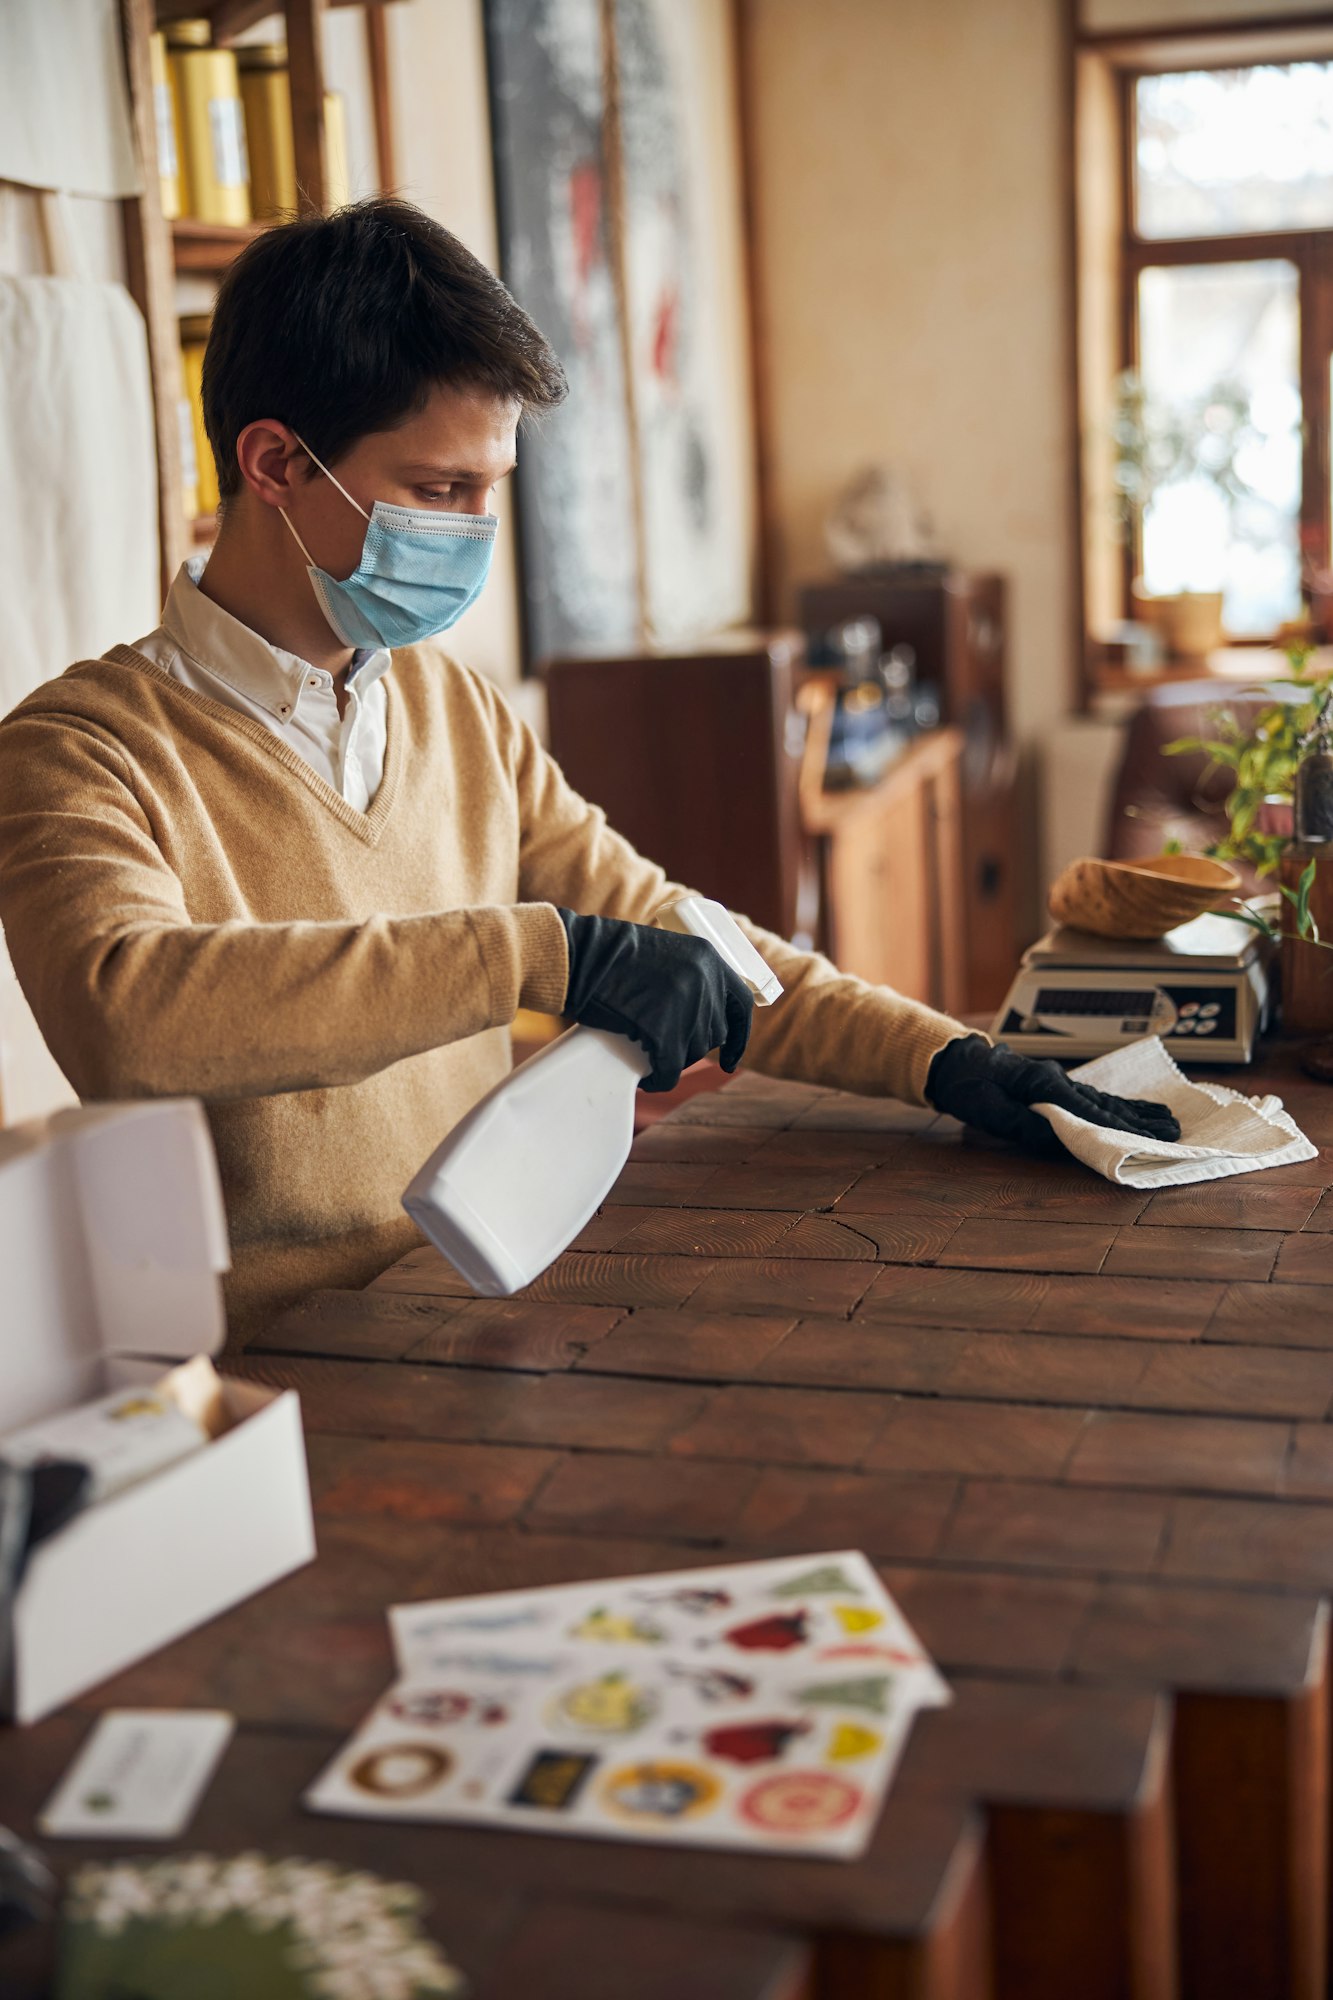
Safety Precautions When Using Chemicals
When using chemicals like mineral spirits, safety should be your top priority:
- Wear gloves to protect your hands from harsh chemicals.
- Work in a well-ventilated area to avoid inhaling fumes. Open windows or use a fan to circulate air in the room.
- Keep mineral spirits away from open flames or heat sources, as they are flammable.
- Store mineral spirits and other chemicals out of reach of children and pets.
Step 4: Drying and Airing

After cleaning your antique wooden furniture, it’s essential to ensure that it is thoroughly dried. This step is crucial to prevent any damage that moisture can cause, such as warping, swelling, or mold growth.
Importance of Fully Drying the Furniture
Moisture is one of the greatest enemies of wooden furniture, especially antiques. If the wood retains moisture, it can lead to several problems, including:
- Swelling and Warping: Wood expands when it absorbs moisture, which can distort the shape and fit of your furniture pieces.
- Mold and Mildew Growth: Damp wood provides an ideal environment for mold and mildew to thrive, which can damage the wood and pose health risks.
- Finish Damage: Excessive moisture can also break down the finish on your furniture, leading to a dull appearance and decreased protection.
Tips for Avoiding Moisture Retention
To ensure that your furniture dries completely and remains in excellent condition, follow these tips:
- Use Dry Cloths for Wiping: After cleaning, immediately wipe down the surface with a clean, dry microfiber cloth to absorb any residual moisture. Make sure to get into all the nooks and crannies where water might collect.
- Air Dry in a Well-Ventilated Area: Allow the furniture to air dry in a room with good air circulation. Open windows or use a fan to help circulate air and speed up the drying process.
- Avoid Direct Heat: Do not use heat sources like hair dryers or heaters to speed up drying, as these can cause uneven drying and damage the wood.
- Check the Humidity Level: Keep the room’s humidity at a moderate level to help the drying process without overdrying the wood, which can also cause damage.
- Regularly Inspect During Drying: Check on your furniture periodically as it dries to ensure there are no signs of moisture damage or mold formation.
Step 5: Applying Furniture Wax or Polish
Waxing or polishing your antique wooden furniture is the final step in the cleaning process, providing a layer of protection and enhancing the wood’s natural beauty. This step not only helps to preserve the furniture but also gives it a lustrous finish.
Benefits of Waxing Antique Furniture
Applying furniture wax or polish can significantly enhance and protect your antique pieces:
- Enhances Appearance: Wax adds a rich depth and shine to the wood, highlighting its natural grain and color.
- Protects Surface: A wax layer acts as a barrier against dust, moisture, and light scratches, helping to preserve the wood’s integrity.
- Increases Durability: Regular waxing can help the wood resist environmental stresses like humidity and temperature fluctuations, thereby extending the life of your furniture.
Step-by-Step Guide to Applying Wax
To apply wax or polish correctly, follow these detailed steps:
1. Choose the Right Product
Select a wax or polish that is appropriate for antique furniture. Look for products that are specifically formulated for use on wood and are gentle enough for antiques.
2. Clean the Surface
Ensure the furniture surface is clean and dry before applying wax. Any dirt or moisture trapped under the wax could damage the wood.
3. Apply Wax Sparingly
Using a clean, soft cloth or a wax brush, apply a small amount of wax to the furniture. Work in small sections to ensure even coverage.
4. Rub in the direction of the Grain
Gently rub the wax into the wood, following the direction of the grain. This method helps the wax penetrate more effectively and ensures a smoother finish.
5. Let the Wax Settle
Allow the wax to sit on the furniture for a few minutes according to the manufacturer’s instructions. This waiting period helps the wax to harden slightly, making it easier to buff.
6. Buff to a Shine
Using a fresh, clean cloth, buff the waxed surface in circular motions to achieve a high shine. The more you buff, the glossier the finish will be.
7. Inspect and Touch Up
After buffing, inspect the piece for any missed spots or uneven areas. Apply additional wax as needed and buff again.
Recommended Products and Brands
For best results, consider using trusted brands that are known for their quality and suitability for antique furniture:
- Howard Feed-N-Wax: This product is renowned for its ability to both nourish the wood and leave a beautiful, protective coating.
- Minwax Paste Finishing Wax: Offers excellent protection and produces a hard, durable finish.
- Renaissance Micro-Crystalline Wax Polish: Known for its high-quality finish and long-lasting protection, particularly good for highly valuable antiques.
By regularly applying furniture wax or polish to your antique wooden furniture, you can maintain its aesthetic appeal and ensure its longevity, making it a cherished part of your home for years to come.