


Table of Contents Show
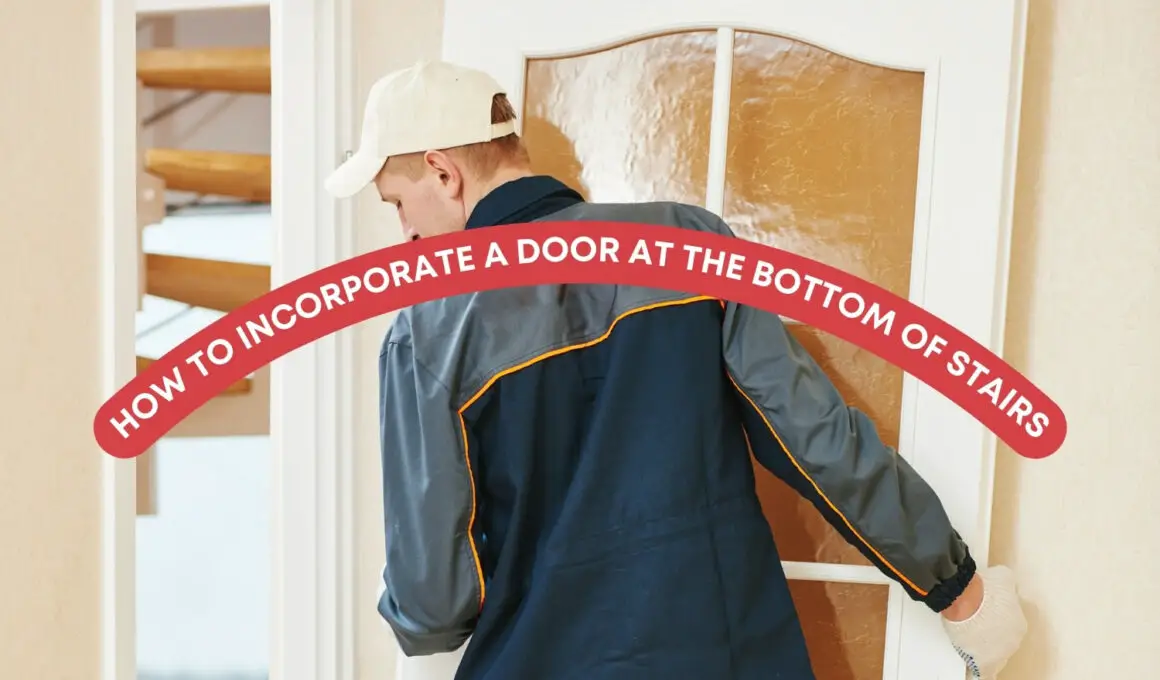
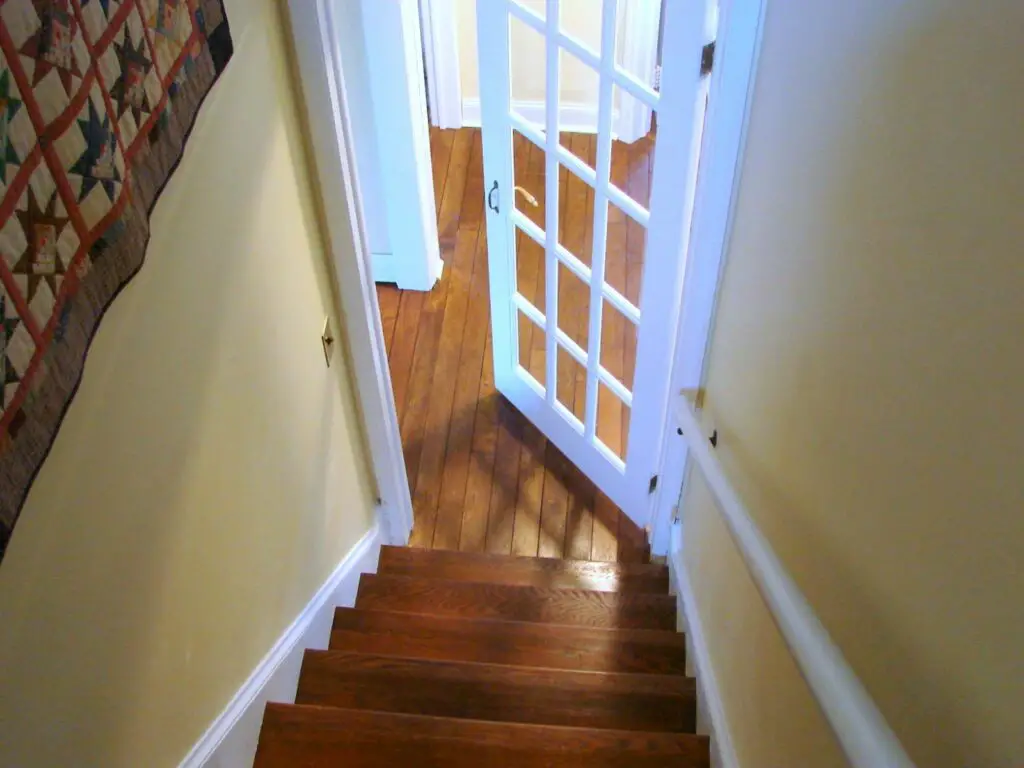
As an experienced homeowner and contractor, I’ve had the privilege to transform many spaces to meet the unique needs of families over the years. One particular enhancement that often goes overlooked but has a tremendous impact is incorporating a door at the bottom of the stairs.
Now, you might wonder, why would someone need a door there. Well, it’s more common and beneficial than you might think. Such doors can offer increased privacy, enhance safety, improve energy efficiency, and even uplift the design aesthetics of your home.
While it may seem like a daunting task, with the right approach and a clear understanding, it can be a straightforward yet transformative project. Let’s explore how you can seamlessly add this feature to your home, shall we?
Pre-Planning and Considerations
Before getting started with the actual installation of a door at the bottom of your stairs, it’s essential to lay the groundwork. Proper pre-planning ensures that you achieve a seamless fit that meets your design and functional requirements. Here are the key aspects you need to consider:
1. Evaluating The Need
Before deciding on the door type, you must evaluate the primary reason behind the installation. Some homeowners prioritize aesthetics, wanting the door to be a focal design point.
Others are more interested in the functional aspect, perhaps desiring to keep the warmth in a specific area or prevent pets from climbing the stairs. And of course, safety can’t be ignored, especially in homes with children or elderly residents.
According to a study published in the Journal of Architectural and Planning Research, well-placed interior doors can significantly impact the energy efficiency of homes, by controlling airflow and maintaining the desired temperature in specific zones. This means your door could serve a dual purpose: aesthetic enhancement and energy conservation.
2. Measurements
A door’s functionality largely depends on the space available for its swing or slide. It’s vital to ensure there’s enough room for the door to open and close without obstruction. Take precise measurements of the width and height of the space at the bottom of your stairs.
Also, factor in any nearby furnishings or fixtures that could interfere with the door’s movement. It’s always a good rule of thumb to allow for a few extra inches beyond the door’s dimensions for ease of operation.
3. Types of Doors
There’s a plethora of door types suitable for the base of stairs. Standard doors are a common choice due to their simplicity and availability. However, if you’re working with limited space or want a unique design, barn doors or pocket doors might be more apt.
Each type of door has its pros and cons, and the choice should align with your aesthetic preferences, space constraints, and functional requirements.
In the next sections, we’ll delve deeper into each of these considerations, ensuring you have a comprehensive understanding before you embark on this transformative journey for your home.

Tools and Materials Needed
Embarking on any home improvement project requires the right tools and materials. Installing a door at the bottom of your stairs is no exception. Being well-prepared with all necessary items beforehand will not only save time but also ensure the installation process goes smoothly. Let’s break down the essentials:
Essential Tools
- Measuring Tape: Critical for taking accurate measurements of the doorway and the surrounding space.
- Pencil: To mark precise points for drilling or cutting.
- Saw: A handsaw or power saw might be needed to trim the door or frame to fit perfectly.
- Drill: Vital for making holes for screws and, in some cases, for the door handle or lock.
- Screws and Screwdriver: These will secure the door frame to the wall and may also be needed for the hinges and handle.
- Level: To ensure the door frame and door are perfectly vertical.
- Chisel: Helpful for carving out spaces for hinges or the door latch.
- Hammer and Nails: For additional support in securing the door frame.
Materials
- Door: Depending on your preference and space considerations, this could be a standard door, barn door, pocket door, or another type.
- Door Frame: Essential for standard doors, this provides the structure in which the door sits.
- Hinges: Typically two or three, these attach the door to the frame allowing it to swing open and closed.
- Handle: This could be a knob, lever, or pull, depending on the door type and your design preference.
- Lock: If you wish to have added privacy or security, consider installing a lock. This could range from a simple latch to a more sophisticated locking mechanism.
- Shims: Thin pieces of wood are used to ensure the door frame is level and fits snugly in the opening.
- Finish or Paint: Once installed, you might want to paint or finish the door to match or complement your home’s interior.
Having a well-organized toolkit and all materials at hand will make the installation process smoother. Remember, quality tools and materials can make a significant difference in the final look and longevity of your door, so it’s wise to invest in good-quality items from the outset.
Step-by-Step Guide: Installing a Standard Door
Installing a door, especially at the bottom of stairs, might seem intricate at first. But, with the right approach and by following a step-by-step guide, you’ll find it’s a task well within your reach. Here’s how you can install a standard door in your home:
1. Taking Accurate Measurements
- Using a measuring tape, measure the height and width of the doorway where you want to install the door.
- Remember to account for the door frame and a bit of wiggle room – typically about half an inch on each side for adjustments.
2. Choosing the Right Door Type
Evaluate the space available. If it’s ample, a standard swinging door will suffice. But if space is a constraint, especially regarding door swings, consider alternatives like sliding or pocket doors.
Think about the door’s primary purpose: is it for privacy, aesthetics, safety, or energy conservation? This will help determine the door material, whether solid wood, glass pane, or a combination.
3. Installing the Door Frame
- First, assemble the door frame as per the manufacturer’s instructions.
- Position the frame within the doorway. Using wooden shims, ensure the frame is vertical and level.
- Drill pilot holes and secure the frame with screws. Ensure it’s snug but not overly tight, as wood can expand and contract with temperature changes.
4. Hanging the Door
- Position the door within the frame to ensure it fits well.
- Attach the hinges to the door at the designated spots, typically about 7 inches from the top and bottom. If there’s a third hinge, place it equidistant between the top and bottom hinges.
- Align the hinges with the frame and secure with screws.
4. Adding the Handle and Lock
- Measure and mark the spot for the door handle, ensuring it’s at a convenient height and centered width-wise.
- Drill a hole through the door for the handle. If you’re adding a lock, you’ll need to drill a second hole and chisel out a space for the latch.
- Insert the handle and secure as per the manufacturer’s guidelines. If you’re adding a lock, ensure the latch aligns perfectly with the hole in the door frame.
5. Finishing Touches Painting or Staining
- Before applying paint or stain, clean the door surface of any dust or debris.
- Apply a primer if you’re painting. This will ensure the paint adheres well and lasts longer.
- Paint or stain the door in your desired color or shade. Remember to use long, even strokes and allow ample drying time between coats.
And there you have it! With some patience and precision, you’ve successfully installed a standard door at the bottom of your stairs. Remember to periodically check the door for any signs of wear and tear and address them promptly to maintain its function and aesthetics.
Alternatives to Standard Doors
While standard swinging doors are a common choice for many homeowners, they might not always be the best fit for every space or design preference. Thankfully, there’s a range of alternative door styles available, each offering its own unique advantages. Let’s explore some of the most popular alternatives and why you might consider them for the bottom of your stairs:
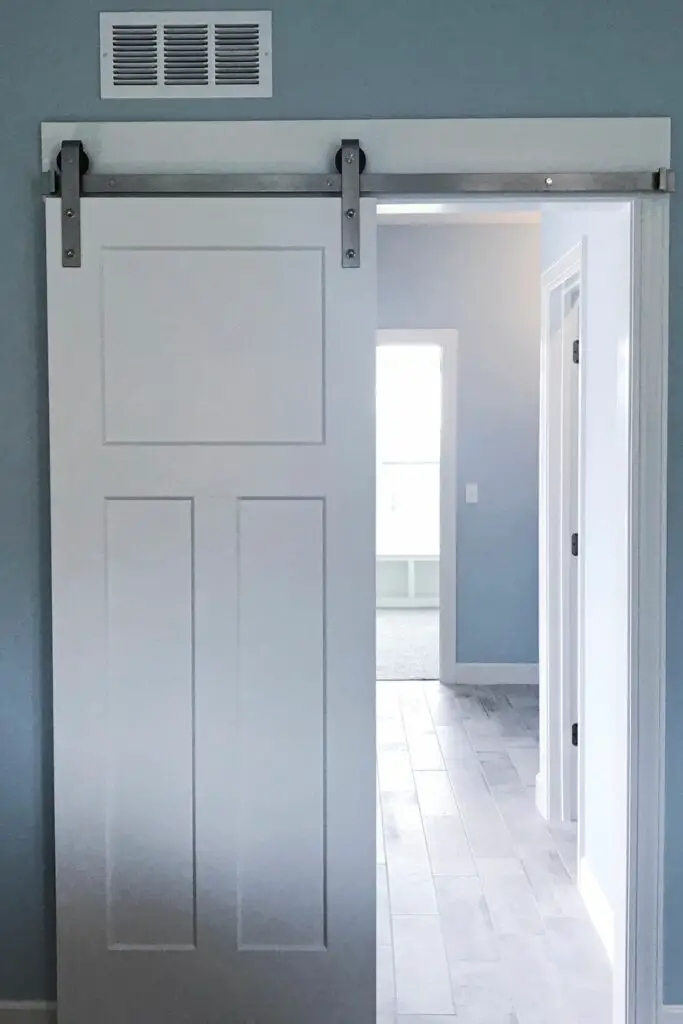
1. Barn Doors
Barn doors, with their rustic charm, can be a trendy addition to your home. They’re not just for farmhouses anymore; their modern adaptations fit well with various interior designs, from contemporary to traditional.
- Space Saving: Since they slide horizontally, barn doors don’t require the swing space than standard doors do, making them perfect for tighter areas.
- Design Flexibility: Available in myriad designs and materials, you can choose a barn door that perfectly complements your home’s aesthetics.
How to Install
- Measure and select a door that’s wider than the doorway to ensure full coverage when closed.
- Install a sturdy rail above the doorway where the door will slide.
- Attach rollers to the top of the door, ensuring they align with the rail.
- Slide the door onto the rail, and you’re set!
2. Pocket Doors
Pocket doors are ingenious solutions for spaces where there’s no room for a door to swing or slide externally.
- Space Efficiency: As the name suggests, these doors slide into a ‘pocket’ in the adjacent wall, making them ideal for really tight spots.
- Clean Look: When open, the door is completely hidden, providing an unobstructed view.
How to Install
- Create a pocket within the wall adjacent to the doorway. This might involve removing a section of the wall and installing a pocket door kit.
- Hang the door on rollers that slide along a track inside the pocket.
- Install guides at the bottom to keep the door straight while sliding.
3. Bi-fold Doors
Bi-fold doors are perfect for wider entrances, especially if you want to maintain an open feel without the door taking up too much space when opened.
- Space-conscious: Even though they’re designed for broader spaces, they fold upon themselves, using minimal space when opened.
- Versatility: Bi-fold doors allow you to partially open or close the space, providing flexibility in how you use the entrance.
How to Install
- Install a track at the top of the doorway.
- Attach pivot brackets at the top and bottom corners.
- Hang the door onto the track, ensuring the rollers and pivots align.
- Install a handle for easy opening and closing.
Each of these door styles offers unique benefits, so it’s all about finding the one that matches your home’s design and your functional requirements. When selected and installed thoughtfully, they can significantly enhance the appeal and utility of your space.
Safety Measures and Precautions
Incorporating a door at the bottom of your stairs isn’t just about aesthetics and functionality. Safety should always be a paramount consideration, especially in a location that can be a high-traffic area for family members of all ages. Here are some essential safety measures and precautions to take into account:
1. Ensuring There’s No Trip Hazard at the Base of the Stairs
- Threshold Caution: If your door comes with a raised threshold, ensure it’s flush with the floor to minimize tripping. Raised thresholds can become unintended obstacles, especially in dim lighting.
- Flooring Consistency: The flooring material before and after the door should be consistent to prevent slips. Avoid drastic transitions like a slippery tile on one side and carpet on the other.
2. Properly Aligning the Door to Avoid Swinging Issues
- Door Stopper: Installing a door stopper can prevent the door from swinging too widely and possibly causing injuries or wall damage.
- Smooth Movement: Ensure the door swings or slides smoothly without jerking. Regular maintenance like oiling the hinges or checking the track can help.
Auto-Close Mechanism: Consider installing an auto-close mechanism, especially if it’s a door meant to keep pets or children from ascending the stairs. This ensures the door is always closed even if someone forgets.
3. Child and Pet Safety: Consider Locks and Gates if Necessary
- Safety Locks: If the door’s purpose is to prevent young children from accessing the stairs, installing a childproof lock is crucial. These locks are designed to be difficult for little hands to open but easy for adults.
- Pet Gates: If you’re installing the door mainly to keep pets away from the stairs, consider adding a pet gate. This allows you to keep the door open for air circulation while still restricting pet access.
- Clear Glass Warning: If you’re considering a door with glass panels, ensure the glass is clearly visible. Adding decorative decals or frosted designs can help children and pets recognize there’s a barrier, reducing the risk of accidental collision.
- Door Pinch Guards: To prevent little fingers from getting pinched, you can install pinch guards. These are especially useful if the door is frequently accessed by young children.
Remember, while a door at the bottom of your stairs can add aesthetic and functional value, it should never compromise safety. Regularly check the door’s mechanisms and structure for wear and tear, and address any concerns immediately to maintain a safe environment for everyone in the home.
Maintenance and Care
Installing a door at the bottom of your stairs is a significant investment in your home’s functionality and aesthetics. Like all investments, ensuring its longevity means committing to regular maintenance and care. Doors, being frequently used, are susceptible to wear and tear, and without proper upkeep, they can lose their charm and function.
According to a study published in the Journal of Architectural Engineering, doors, when exposed to regular use and environmental factors, can show signs of degradation faster than some other household structures.
The study emphasizes the importance of regular maintenance to enhance the lifespan and functionality of doors. Keeping this in mind, let’s dive into the essential maintenance and care tips:
1. Regular Checks for Loose Screws or Hinges
- Visual Inspection: At least once a month, give your door a thorough visual check. Look out for any obvious signs of wear, like chipping paint or warping.
- Physical Checks: Test the door by opening and closing it a few times. It should move smoothly without any creaking sounds. If it doesn’t, it’s time to inspect the screws and hinges.
- Tightening: Over time, screws in the hinges can become loose due to the repetitive motion of opening and closing the door. Ensure they’re tight, but avoid overtightening, which can strip the screw or damage the wood.
2. Cleaning and Dusting Tips
- For Wooden Doors: Use a soft cloth and a mixture of mild soap and water. Wipe down the door and then use a separate dry cloth to dry it off. Avoid using excessive water as it can warp the wood.
- For Glass Paneled Doors: A simple glass cleaner will do the trick. Spray and wipe down with a clean cloth or paper towel for a streak-free finish.
- Dusting: Regardless of the door material, regular dusting helps in keeping the door looking fresh and clean. Use a microfiber cloth to trap and remove dust particles effectively.
3. When and How to Repaint or Re-stain
- Signs It’s Time: When the paint starts chipping or fading, or if the door seems discolored, it’s probably time to give it a new coat. For stained doors, when the finish looks dull or has noticeable scratches, consider re-staining.
- Preparation: Before repainting or re-staining, it’s essential to prep the door. This involves cleaning it, sanding down any rough patches (especially for wooden doors), and applying a primer (for paint).
- Painting/Re-staining: Use long, even strokes with a brush or roller. Depending on the paint or stain, you might need multiple coats. Always wait for one coat to dry completely before applying another.
A door is more than just a barrier; it’s a statement piece, a protector, and a part of your home’s personality. By dedicating a little time to its maintenance and care, you ensure it remains an asset to your home for many years to come.