
Table of Contents Show
Hello, fellow homeowners and DIY enthusiasts! When you dedicate time, effort, and resources to give a room a fresh coat of paint, the last thing you’d expect is to see that paint peel off like rubber. It’s frustrating, to say the least.
Having worked as a contractor and been hands-on with countless home projects, I’ve seen this happen more times than I’d like to admit.
Every challenge in the world of home improvement brings with it an opportunity to learn and share. So, why does paint peel off walls like rubber? And more importantly, what can you do about it?
Whether you’re facing this issue now or just want to be prepared for the future, I’m here to guide you through the ins and outs of this common paint predicament. Let’s get to the heart of the matter and make sure your walls look impeccable for years to come.
Quick Answer
The main difference between paint that adheres smoothly and paint that peels off walls like rubber lies in the preparation and choice of materials. Proper surface cleaning, using the right primers, investing in high-quality paints, and ensuring appropriate ventilation are pivotal factors. A meticulous approach to these steps guarantees a long-lasting, pristine finish, preventing the common issues of cracking, bubbling, and the rubbery peeling of paint. When homeowners prioritize these essentials, the results are not only visually appealing but also enduring, making paint-related worries a thing of the past.
Common Causes of Paint Peeling
According to a study published in the Springer Journal of Coatings Technology and Research, one of the primary reasons for paint failures is the inadequate preparation of the surface, which aligns with the experiences of many homeowners and professionals alike.
Proper adhesion is the cornerstone of a long-lasting paint job, and if the foundational steps are overlooked, the results can be disappointing.
Let’s get straight to the point. When paint starts peeling off your walls, it’s often not a sudden or unexpected mishap. It’s the culmination of various factors working against that pristine finish you initially achieved. Here are the most common culprits:
1. Poor Surface Preparation
Inadequate Cleaning of Walls
Imagine painting over dust, grease, or old chipped paint. Not a pretty picture, right? It’s essential to ensure that the wall is free from any contaminants. These impurities can act as barriers, preventing the new paint from adhering correctly to the surface.
Neglecting Primers or Using the Wrong Type
Primers aren’t just an additional step; they’re a foundation. They help in achieving a smooth finish and ensure the paint sticks well. But remember, not all primers are created equal. It’s crucial to pick the right one for your wall type and the kind of paint you’re using.
2. Moisture and Humidity
Water Seepage and Dampness
No paint, regardless of its quality, can hold onto a wet surface. If there’s any water leakage or seepage in your home, the paint will likely peel off.
Bathroom and Kitchen Walls
The high humidity levels in bathrooms and kitchens make these areas particularly vulnerable. When painting these rooms, special care and specific types of paints are required to combat the moisture.
3. Low-Quality Paint
Quality Matters
You might be tempted to save a few bucks by opting for cheaper paint, but it can cost you more in the long run. High-quality paints have better adhesion and durability. They’re designed to withstand challenges that the cheaper alternatives might succumb to.
Lack of Flexibility
The paint needs to expand and contract with the wall, especially with temperature fluctuations. If a paint lacks this flexibility, it can crack and peel over time.
4. Incompatible Paint Layers
Oil Over Latex or Vice-Versa
It’s like trying to mix water and oil; they just don’t get along. If you’re painting over an old layer, it’s essential to know its type. Layering incompatible paints can lead to peeling and an uneven finish.
Layering Issues
Even if the paints are compatible, applying them in quick succession without proper drying can cause peeling. Patience is key here.
5. Age of the Paint Job
Natural Wear and Tear
Everything has a lifespan, and paint is no exception. Over the years, paint can lose its luster and adherence, leading to peeling.
Duration Matter
Depending on the quality and the conditions it’s exposed to, paint can typically last anywhere from 5 to 10 years, sometimes even longer. But it’s always good to keep an eye out and address issues before they escalate.
Visual Signs of Paint Problems
Being proactive is key in the world of home improvement. Before we can address an issue, it’s essential to identify it. And when it comes to paint problems, our walls often communicate with us through visual cues. Here’s what to look out for:
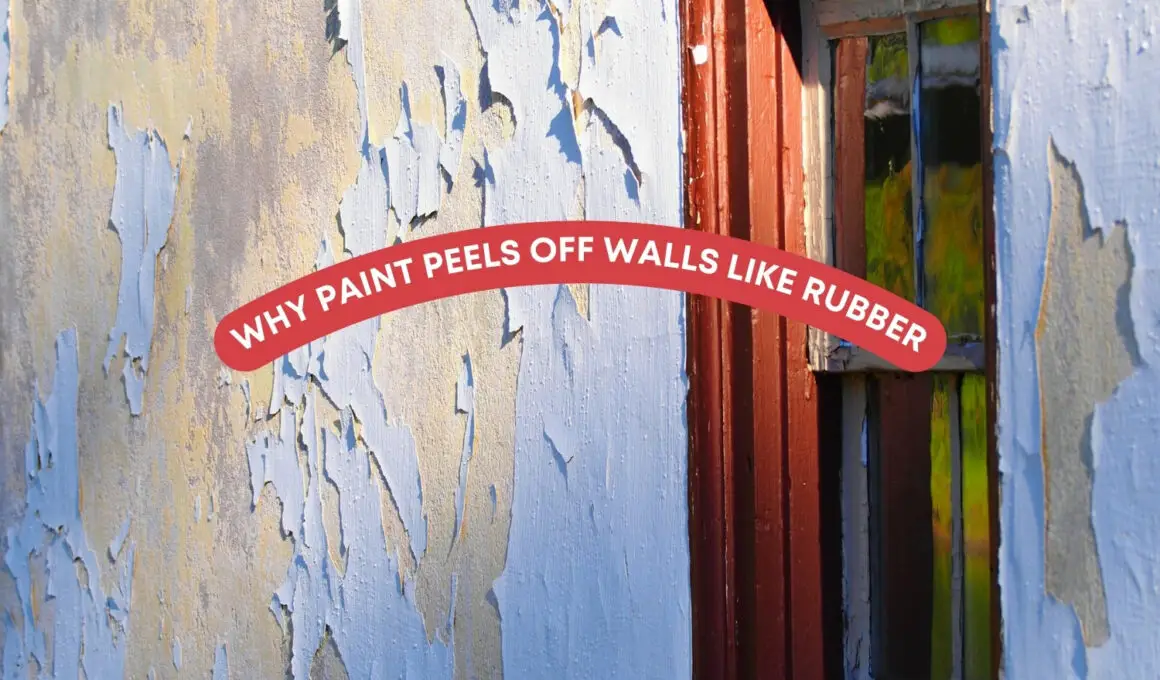
1. The Look of “Rubber Peeling”
When paint peels off in large, stretchy sheets, it can resemble rubber. This can be particularly disheartening, especially if the paint job is relatively new. This ‘rubber peeling’ often suggests a severe adhesion problem, possibly resulting from some of the causes we previously discussed, like moisture issues or poor surface preparation.
2. Cracking
Tiny cracks that spiderweb across the surface can be the early signs of a paint job gone awry. Sometimes called “crazing,” this can happen due to rapid drying of the paint, exposure to extreme temperatures, or painting over a dirty or greasy surface. If left unaddressed, these minor cracks can deepen and widen, eventually leading to more significant issues.
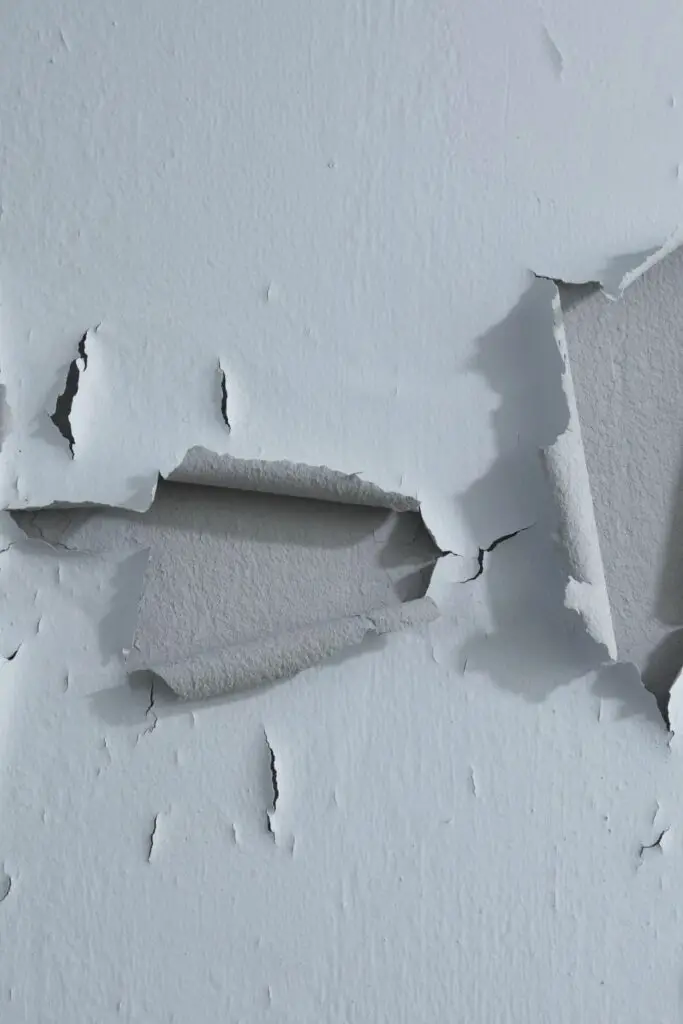
3. Bubbling
Bubbles or blisters forming under the paint’s surface are never a good sign. Typically, this indicates trapped moisture or air between the paint and the wall. Such issues often trace back to painting on a damp day or when the wall itself had retained moisture.
4. Chipping
Chipping is another visual sign of a problematic paint job. Small chunks of paint may begin to flake off, revealing the underlying surface. This can be due to a combination of factors, including poor adhesion, thin paint coats, or external damage from everyday wear and tear.
Recognizing these signs early can save a lot of time, money, and heartache down the road. If you notice any of these issues developing on your walls, it’s best to address them promptly. By understanding the root causes and taking corrective action, you can restore your walls to their former glory and ensure they remain that way for years to come.
Steps to Prevent Paint from Peeling Like Rubber
One of the core tenets of home improvement is prevention. While addressing paint issues post-facto is essential, the real win lies in ensuring these problems don’t arise in the first place. Here’s how you can create an environment where your paint thrives:
1. Proper Surface Preparation
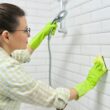
Cleaning Techniques
Start by removing any dirt, grease, and old, flaking paint. A simple solution of water and mild detergent can be effective for general cleaning. For walls with tougher grime, specialized cleaning agents can be beneficial. Always ensure the wall is rinsed and free from any soap residues.
Priming Techniques
Once the wall is clean, applying a primer is the next step. Primers help the paint adhere better and give a more vibrant finish. Remember to choose a primer based on your wall’s material and the type of paint you plan to use.
2. Choosing the Right Paint
Recommendations for High-Quality Paints
It’s worth investing in top-tier brands known for durability and longevity. Brands like Benjamin Moore, Sherwin-Williams, and Behr have garnered a reputation for producing reliable paints that stand the test of time.
Checking the Compatibility of Paints
Always ensure that the type of paint you’re using is compatible with the surface and any underlying paint layers. For instance, if the existing paint is oil-based, using latex paint over it without proper preparation can lead to problems.
3. Ensuring Proper Ventilation
Importance of Dry Walls Before Painting
Moisture is a paint’s nemesis. Before painting, ensure that the wall is completely dry. This is especially crucial if you’ve just cleaned the wall or if there has been recent rain or dampness.
Using Dehumidifiers and Fans
These can be particularly useful in moisture-prone areas like bathrooms or basements. A dehumidifier reduces excess moisture in the air, making the environment less conducive to paint peeling. Fans, on the other hand, help in circulating air and speeding up the drying process after painting.
Incorporating these steps into your painting routine can make a world of difference. It’s the attention to these details, coupled with quality materials, that ensures a lasting, beautiful finish. The time you invest upfront in prevention will save you countless hours and dollars in future repairs.
What to Do if Your Paint is Already Peeling
It’s a disheartening sight: walls you painstakingly painted, are now marred by peeling and imperfections. But, don’t fret. With the right approach, you can restore them to their original beauty. Here’s how:
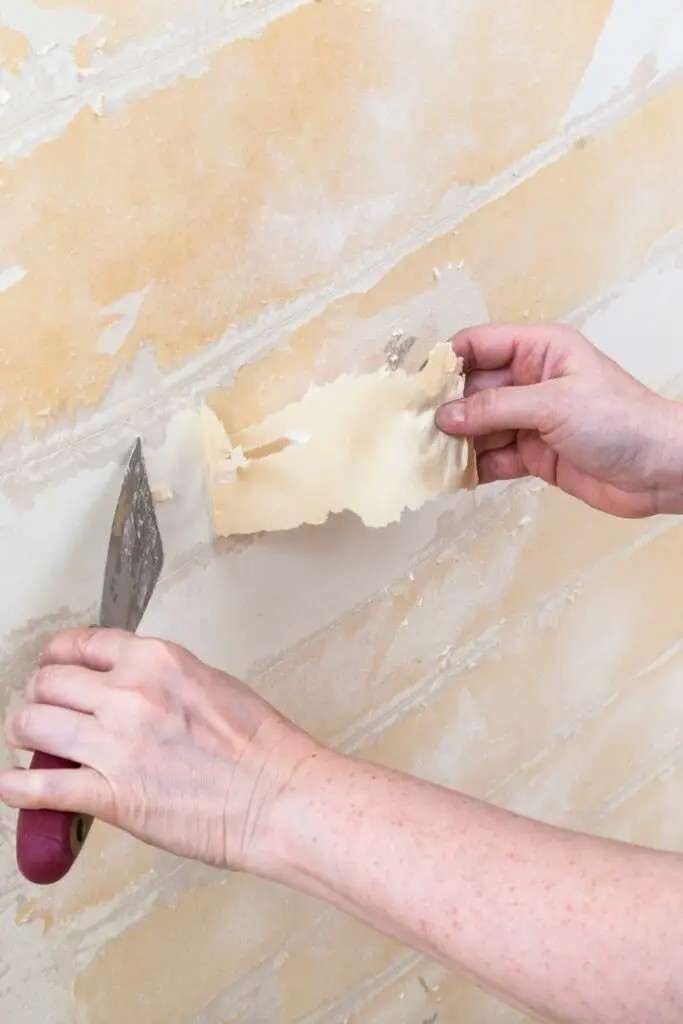
1. Removal of Peeling Paint
Safe Techniques for Scraping
Using a putty knife or a paint scraper, gently scrape away any loose or peeling paint. Make sure to hold the tool at a slight angle and apply even pressure to avoid gouging the wall.
Sanding the Surface
After scraping, sanding is the next step to ensure a smooth surface. For this, use fine-grit sandpaper (like 220-grit). Always wear safety goggles and a dust mask to protect yourself from dust and debris. Sand the edges of the areas where the paint has peeled to blend them with the rest of the wall. This transition is crucial for a smooth paint job later.
2. Repairing the Surface
Patching
If there are holes, dents, or other imperfections in the wall, patch them using a spackling compound or a suitable wall filler. Apply the compound using a putty knife and allow it to dry as per the manufacturer’s instructions.
Smoothing Wall Imperfections
Once the filler has dried, sand the patched areas to ensure they’re flush with the rest of the wall. This step ensures that when you repaint, these patches won’t stand out.
3. Repainting the Surface
Primers are Essential
Never skip this step, especially when dealing with a wall that’s had paint issues. A good quality primer will ensure better paint adhesion and can also block any old paint stains from bleeding through.
Choosing the Right Paint
As discussed earlier, invest in high-quality paint. This investment pays off in the longevity and finish of your paint job.
Application Techniques
Apply paint in thin, even coats, using a brush or roller, depending on the area’s size. It’s better to apply multiple thin layers than one thick one, allowing adequate drying time between coats as specified by the paint manufacturer.
With patience and the right techniques, a wall that once looked like a homeowner’s nightmare can be transformed back into a dream space. Remember, the key lies in preparation and choosing quality products. Your walls deserve the best, and with a little effort, they can shine once again.
In conclusion, paint peeling like rubber is a common issue many homeowners face. But with knowledge and proactive measures, it’s one that can be both prevented and remedied.